
***BE A PART OF THIS BLOG!***
For each challenge, comment with an Instagram link or email me a photo (mattlau95@gmail.com). I want to add your pictures to each post!
With our smartphones today we live in a snapshot era. Having a camera at our fingertips results in the sharing of moments. When something exciting, beautiful, or bizarre meets the eye, we can immediately “snap and share.” These moments are intrinsically beautiful; however, the images used to share these moments lack image quality and often fail to provide capture any aesthetic appeal. However, I believe that with the combination of basic photography skills and an ounce of extra effort, the fleeting aesthetic can be captured. With that, I dare say that smartphones need smart pictures. For this blog sub-series I’m focusing on the how powerful a smartphone really is. All pictures will be taken from my iPhone SE and blog post composed on my WordPress app.
Post No. 1: Adding a Layer of Meaning to Pictures (Smartphones Need Smart Pictures No. 1)
What I’m talking about in this post is one of my favorite things to incorporate into a photograph. When capturing a moment, I always try and ask myself: “can I add anything to enhance this photograph?” For example, about a month ago, I bought a burger from a food truck (moment). I took a photo of that burger (primary layer). I positioned myself in a way to take the picture with the food truck blurred in the background (secondary layer).
Result:
Here’s another example that I just put together today in my room.
Moment: I saw that one my guitar picks looks like it’s melting due to wear and tear.
Primary Layer: holding my guitar pick with my left hand (taking the picture with my right).
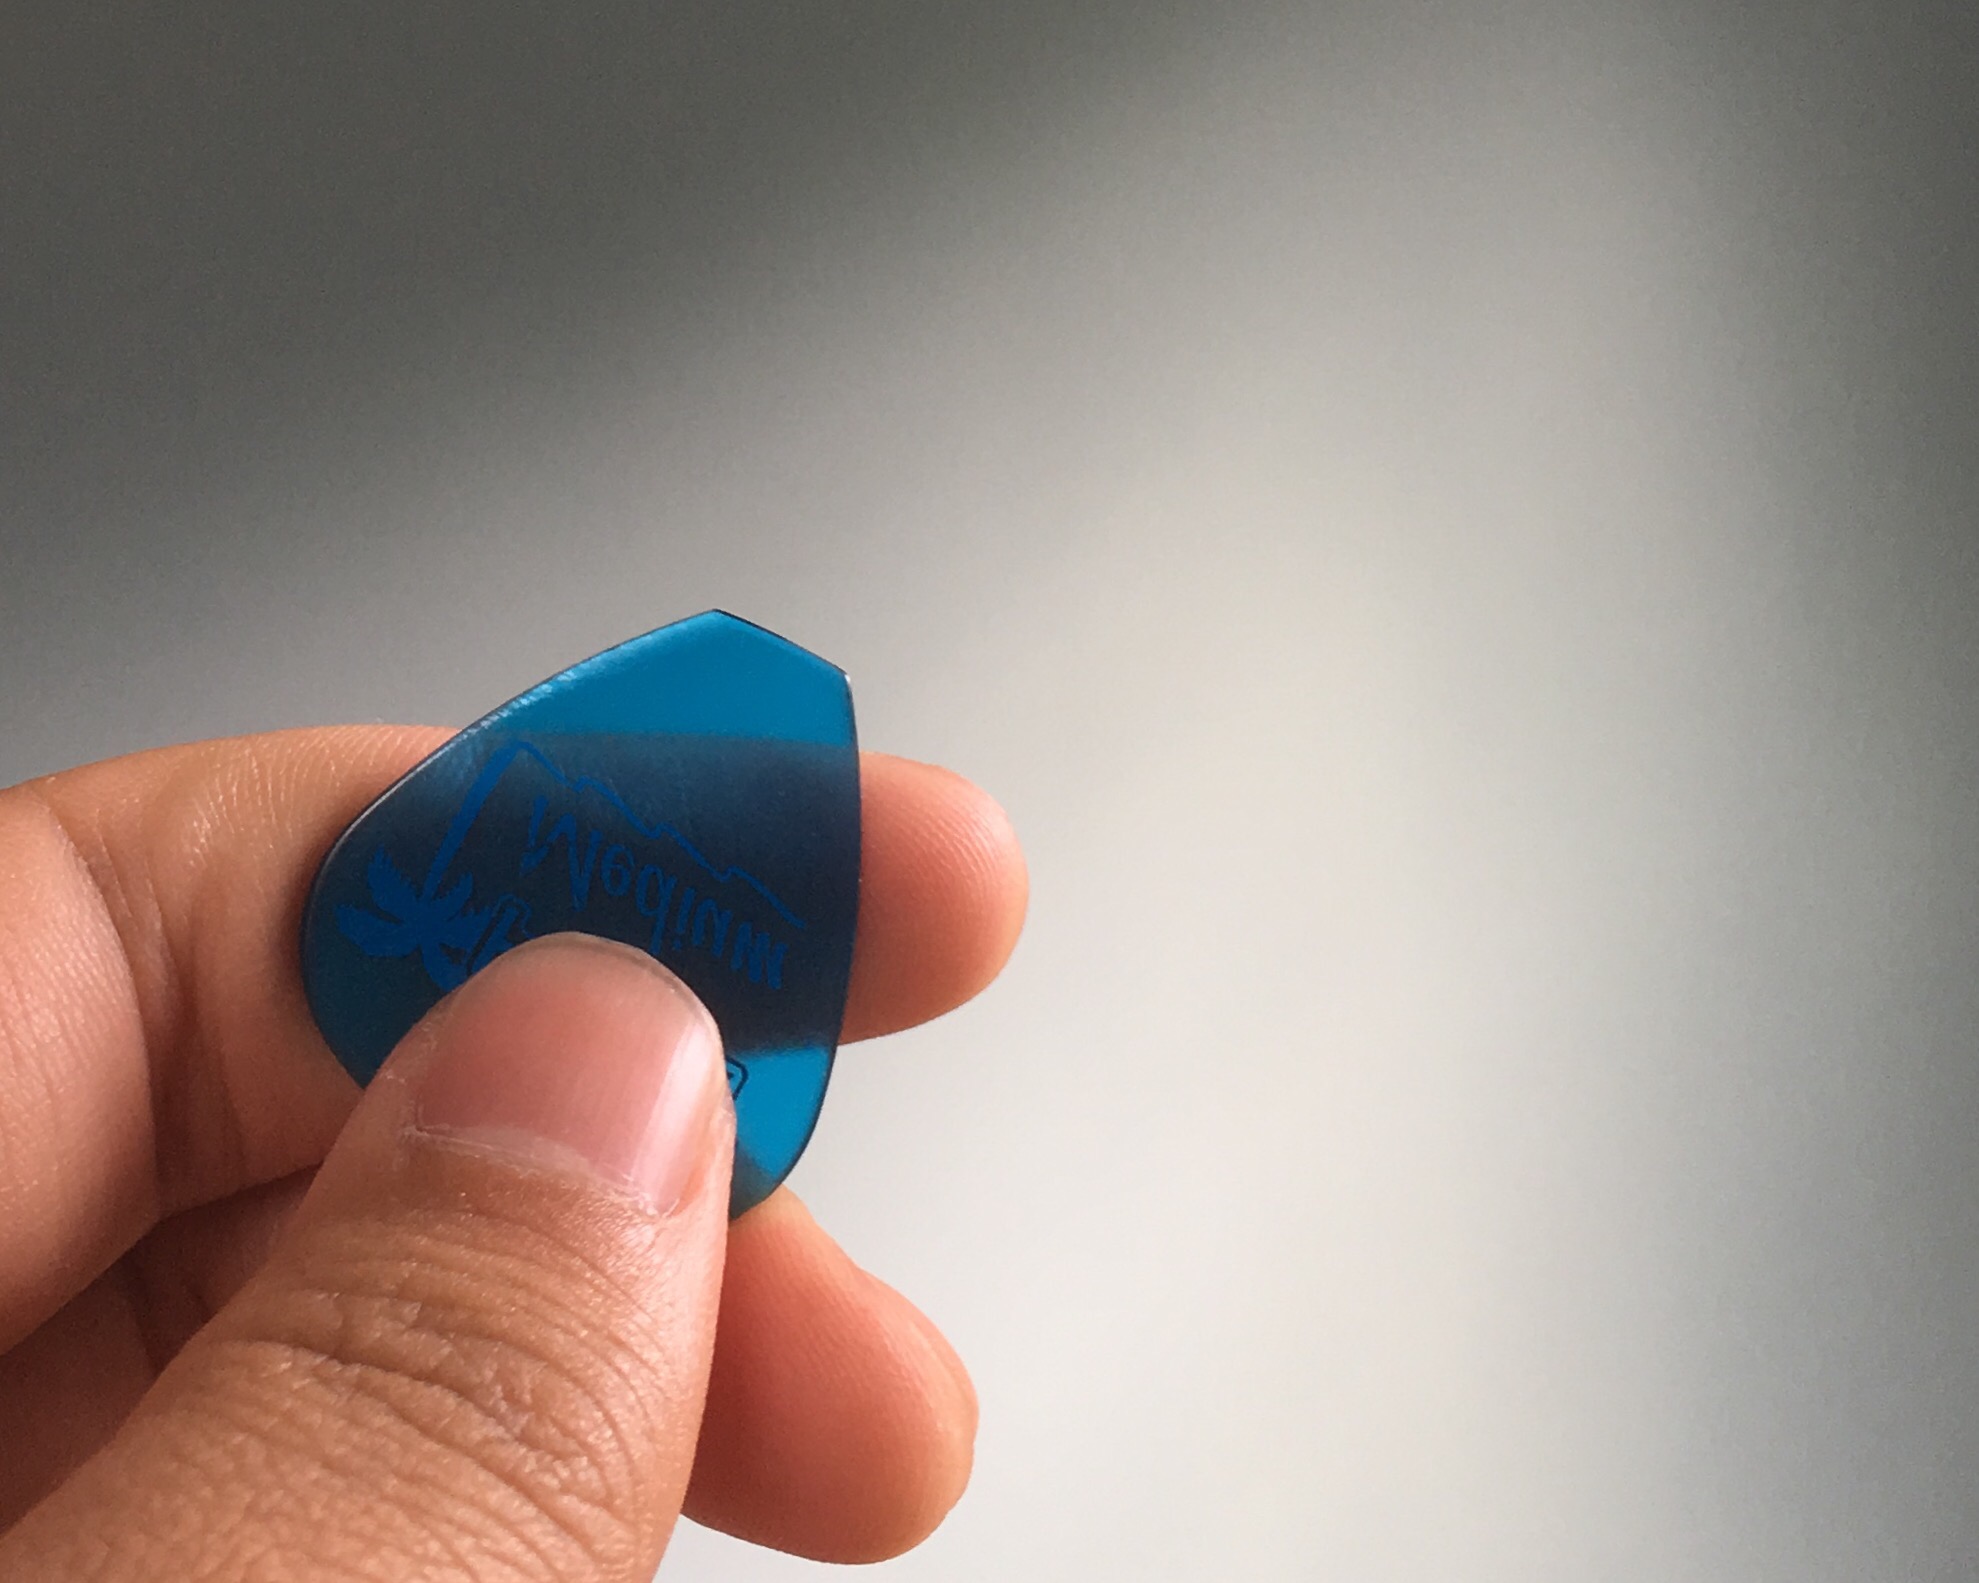
How I add a quick secondary layer to this?
Secondary Layer: Guitar blurred in background.

Immediately there’s an extra layer in the picture- something more for one to look at. The focus is still on the guitar pick, with the guitar blurred in the background.
This aesthetic appeal is something we always do with human subjects. When we go on vacation and see a beautiful landmark (moment), we take a picture of ourselves (primary layer) with the landmark in the background (secondary layer).
Tip: To ensure the a blur in the background, it’s best when the primary layer is somewhat close to your camera. Also make sure that the camera is focused on that subject in the primary layer.
So I challenge you to incorporate this into your pictures!
Now the question is, can there be a third layer? I think so.
(Moment: Sunset at a beach in Fort Myers during Spring Break // Layer 1: shells on sand // Layer 2: beach and sky // Layer 3 (time): sunset)
And to conclude, heres the challenge for this post:
Challenge: With the examples shown above, try to do the same: add an extra layer (or more!) to a basic photo.
Comment with or send me your challenge results! Along with the image, if you have courage to try, tell me the moment and layers of your photograph. I can embed your Instagram post here right onto this blog!
Examples:
(Moment: Playing football with my buddy Josh // Layer 1 (focus): football // Layer 2 (blur): Josh smiling // Layer 3 (background): football field)
