The Jasmine Series Part III

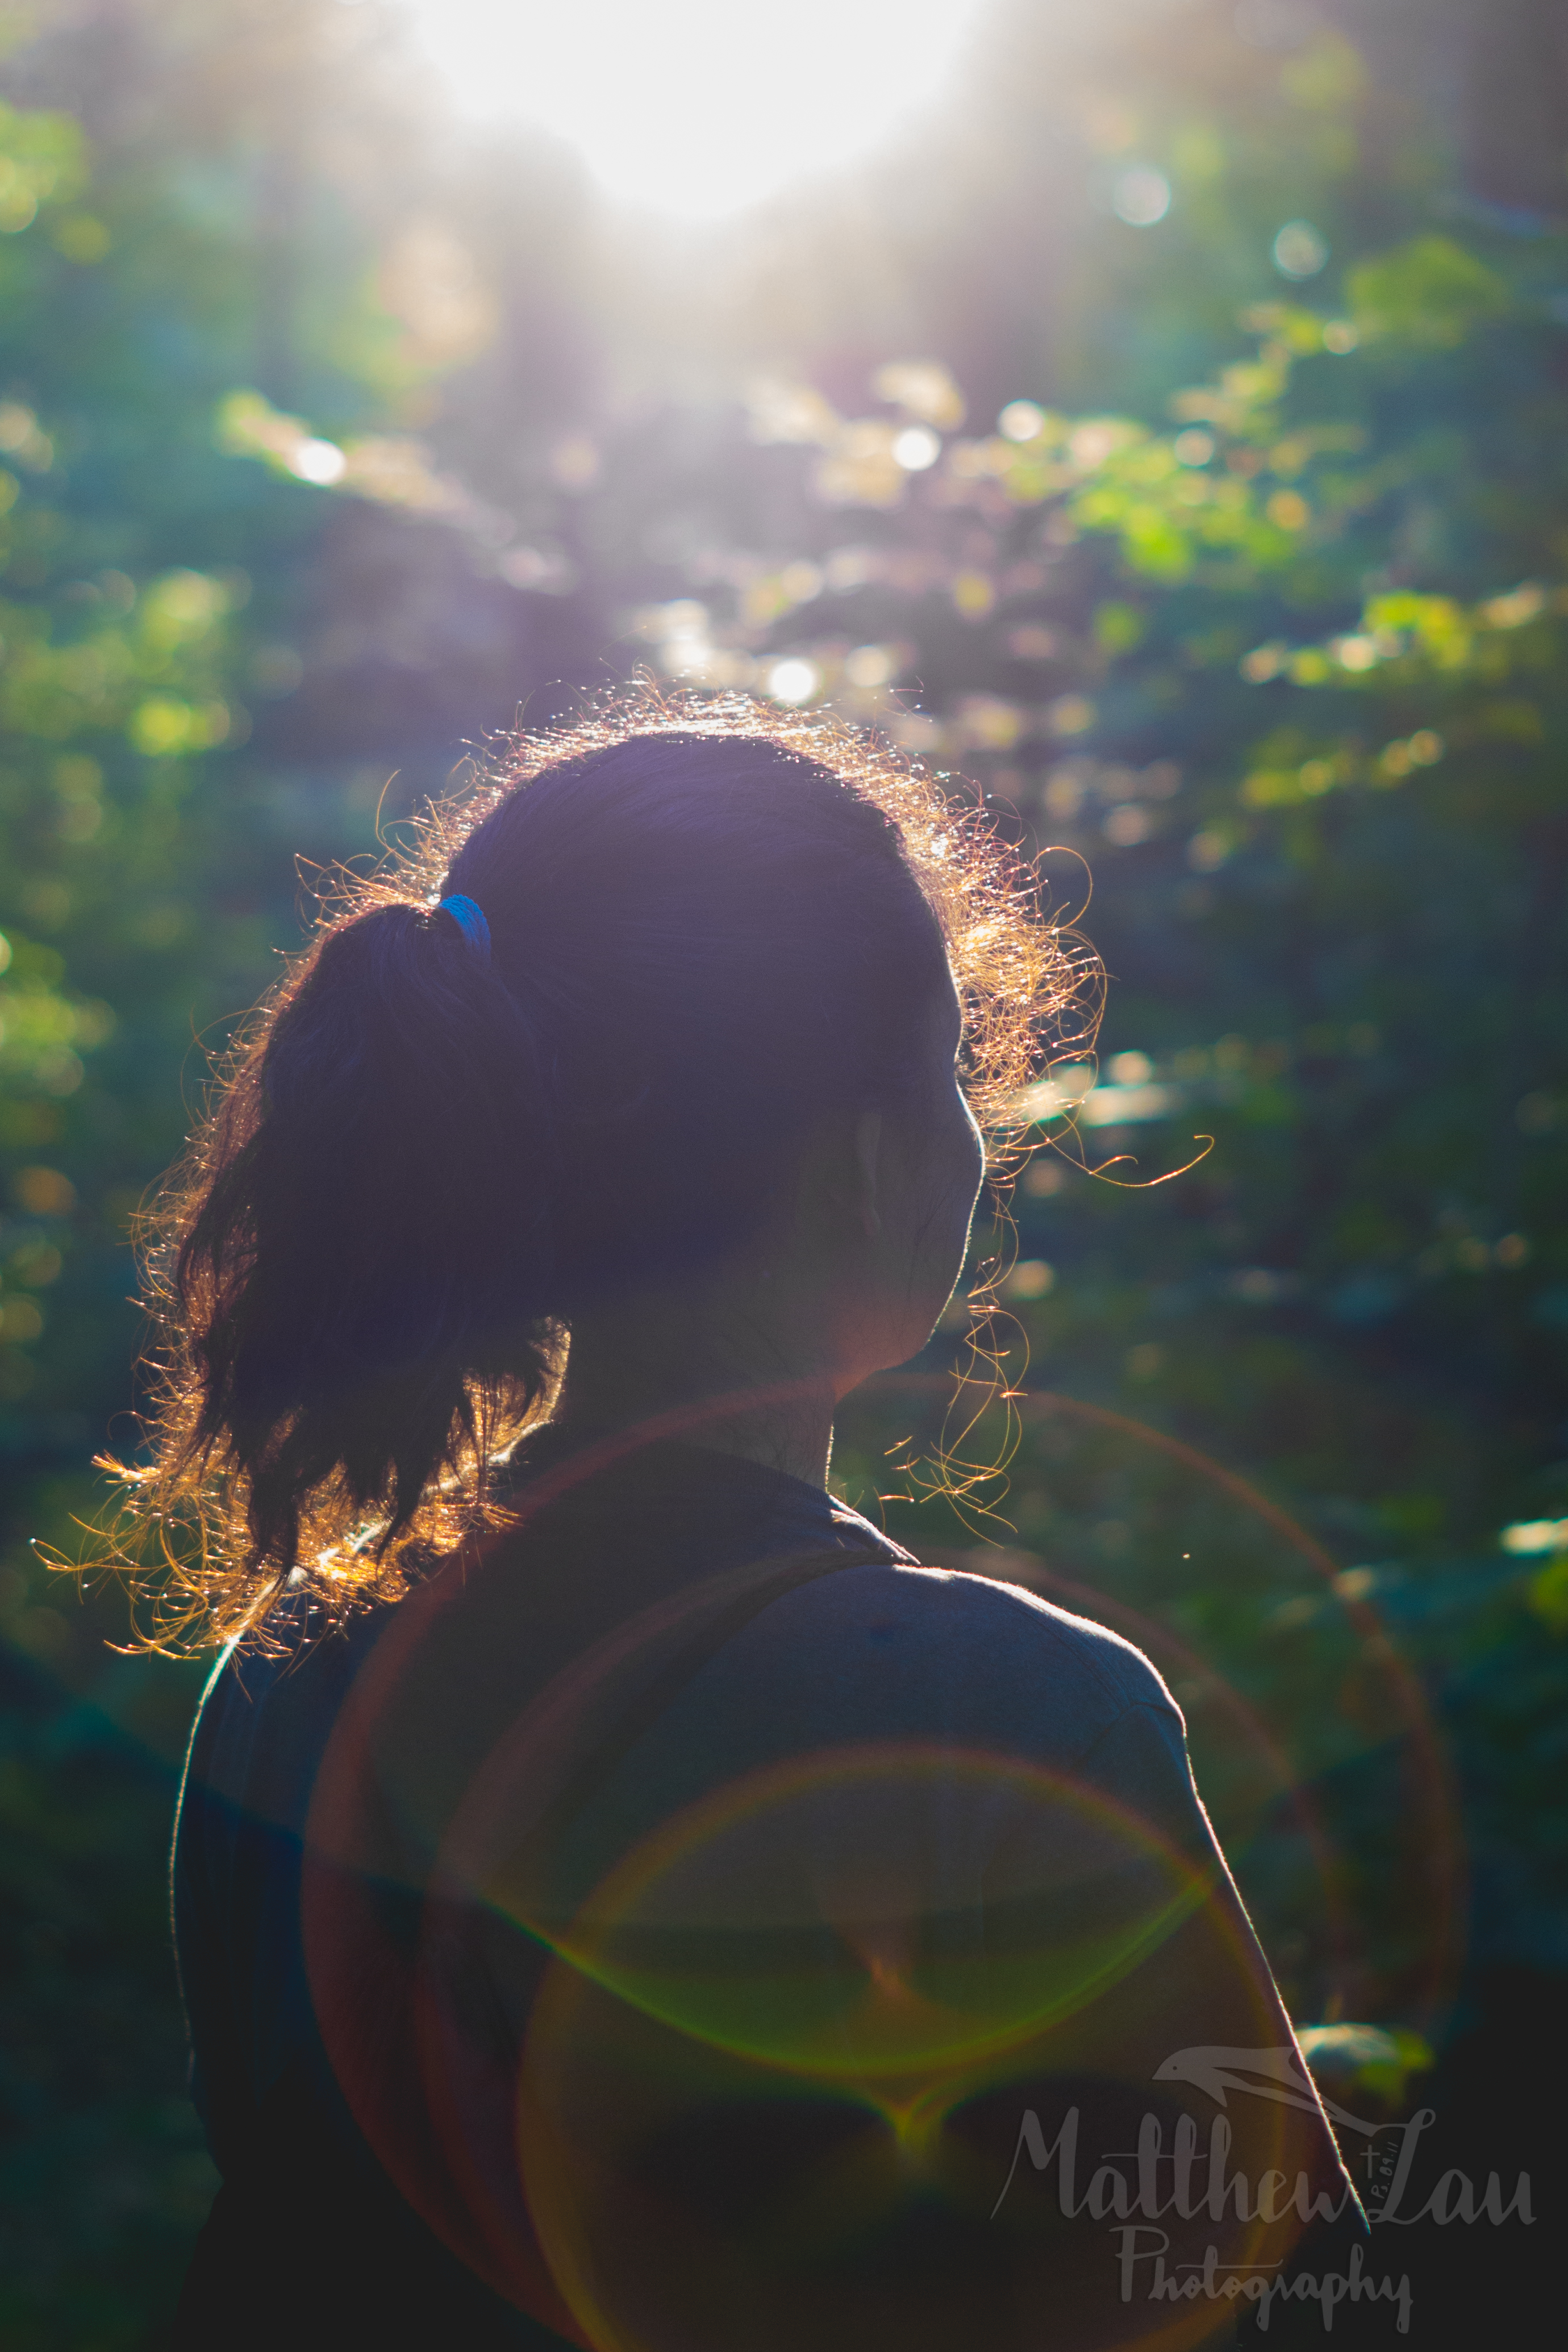
I’m really loving going back and re-editing photos and seeing how much I have learned regarding both taking photos and also editing them.

August 8, 2015: Rutgers Community Christian Church, Somerset NJ.

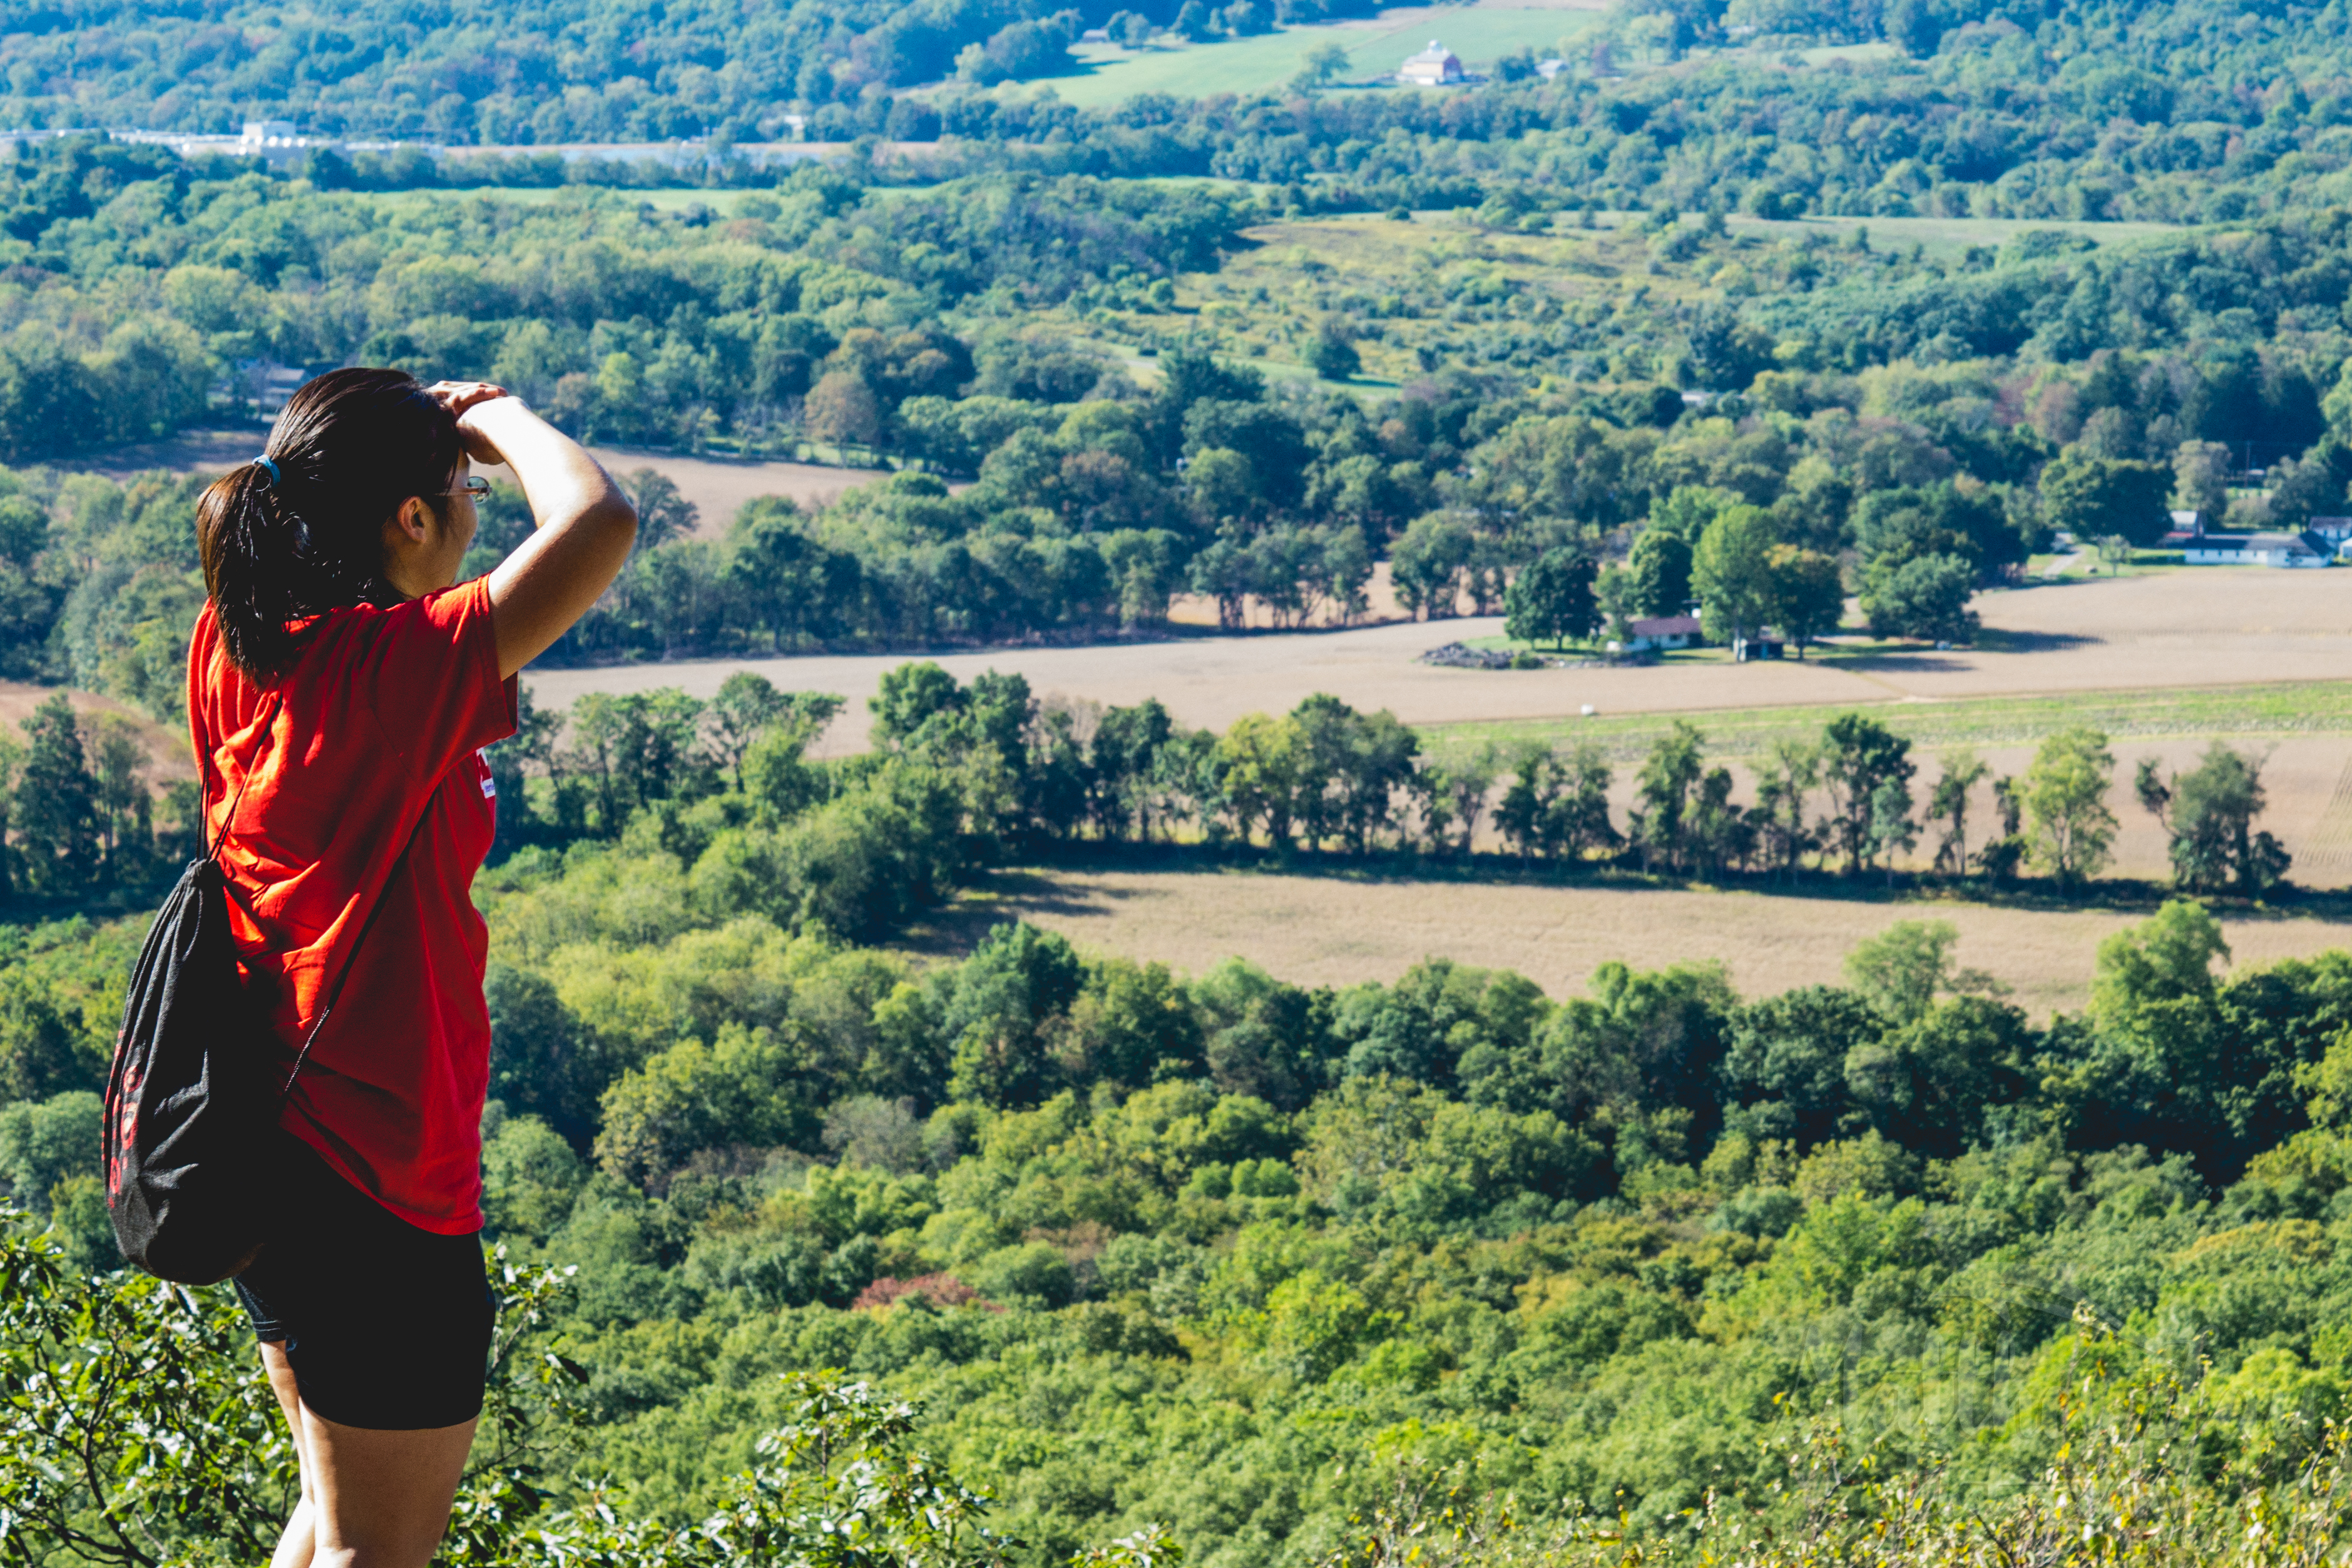
Jasmine studied abroad for the Fall semester, so this was the last time I got to really see her before she left! We both had a free afternoon on this Saturday at church after praise practice on the same team. We took a Sunday school classroom and I set up some simple lighting with two soft boxes. Jasmine brought 4 different outfits to wear, so I’m going to split up photos from this day into two days.

This is my first time trying to use studio lighting for portraiture, and it was not easy. Here are five photos that came out nicely 🙂

day3yeswater-1

jas-42.jpg

Tried a different type of lighting here:day3yeswater-3

day3yeswater-2

jas-4-2.jpg

Lesson #1: Be prepared. Know how you’re going to set up your lighting. I didn’t really know what was doing… so it was not easy to get started. However, it was a good first learning try.

Lesson #2: Make sure, make sure, the subject is in focus. It may look nice from far away, but the photo may still be blurry or out of focus. Using two slow of a shutter speed will cause blur and unsharpness too.  A lot of my photos were off because I didn’t make sure they were coming out sharp and in-focus.

This photo had a cool candid expression from Jasmine, but was out of focus 😦
jas-3

Lesson #3: Back up your SD card photos as soon as possible. Don’t put it off! I only imported a couple of photos what were RAW format (more data to edit on Adobe Lightroom). Then I lost my SD card. Most of the photos I ended up having are the .JPGs, which aren’t as nice to edit as RAWs are (RAWS are around 18-24 megabytes, when .JPGs are around 1-9 megabytes). Losing nice pictures are the worst! I took parent/student photos about a year and a half ago for a youth group graduation for 8th graders headed to high school, and then I broke the SD card before backing up the photos. I never got to send those kids and their families their pictures, because the pictures were essentially gone forever!

Lesson #4: When using a muslin or cloth backdrop, IRON THE BACKDROP, or else it’s all wrinkly and bleh. I didn’t iron the backdrop and used wrinkly backdrop. It is hard to edit the photo in a way where the backdrop wrinkles were not so obvious.

Lesson #5: You can only edit so much. The goal of editing is to make the photo look even better.  However, like all things, there can be TOO much editing.

Collage BEFORE AFTER final

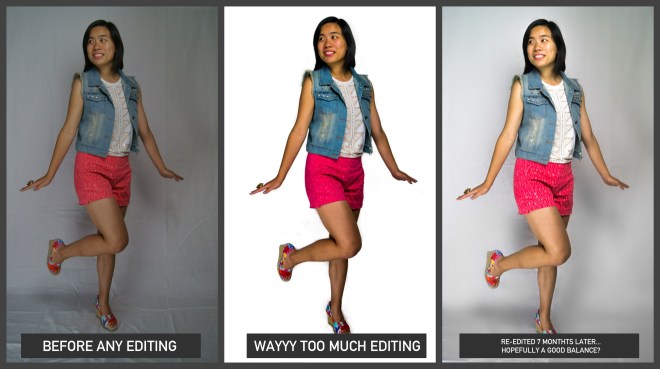
Here is an example of the original photo, the edits I made last August, and the edits I made today. Big difference. You can see the wrinkles in the first photo, before editing. In the second one make the whole background behind Jasmine bright white, which looks simple overdone (tried too hard). The final one, used blurs and such to take away the wrinkle, but keep a sense of real shadows in the background.

However, it’s not perfect. You can still tell that there are wrinkles in the background, especially near the subject… so note to self: IRON THE BACKDROP! It’ll make life so much easier

To be continued… check out the rest of the series below!

The Jasmine Series

jas416-2
Part I
day2-2429
Part II


Spontaneous Hiking Trip (9/24/15)

Thursday, September 24, 2015 – Hiking at Point Mountain Reservation, Washington, NJ.

Last Thursday, I was able to go hiking at Point Mountain with my friends Jen and Dorothy. Jen and Dorothy were undergraduate seniors at Rutgers when I was a freshmen two years ago, and they’re both like older sisters to me. Jen would always invite people to go hiking, and she’s one of the reasons why hiking has become one of my favorite things to do on a nice day. I happen to have Thursday mornings and afternoons free every week this fall semester, while Jen and Dorothy both work jobs that have very sporadic schedules. Jen is a nurse at a hospital, while Dorothy tutors students in secondary education. Both happened to have Thursday off as well, and the weather was GREAT, so it all worked out perfectly!

QUICK HIKING SPOT REVIEW: It can be difficult to find nice overlooks when it comes to hiking in Central New Jersey. There are lots of nice forest areas to hike, but there just aren’t a lot of peaks to choose from. Only about a forty-five minute drive away from Rutgers New Brunswick, Point Mountain was a great surprise. This hiking spot is a part of the Musconetcong Reservation in Hunterdon County. The peak was beautiful and really high up, and the hiking trail involved lots of rock scrambling. Also, if you go on the right trail path(s), you’ll hike alongside the peaceful Musconetcong River (there’s just something peaceful about running water!). I would love to go back again soon. Jen and I both share a favorite hiking spot in NJ at Mount Tammany and Dunnfield Creek @ The Delaware Water Gap (http://www.njhiking.com/best_hikes_red_dot_mt_tammany/), which is over an hour drive away from Rutgers. However, I think that Point Mountain, much closer to my Central NJ home, in comparison to Mt. Tammany was also really great location! Difficulty: 7/10 (lots of climbing and rocky paths), Overall Rating: 8/10.

Check out Point Mountain for yourself here! http://www.njhiking.com/nj-hikes-point-mountain/

(WARNING: Photography Jargon) I have gone hiking quite a lot the last two years, and most of the pictures I’ve taken have been focusing on the wide landscapes, such as a view on the top of a mountain, or a flowing river. However, early in the hike, I saw little stinkbugs crawling around. Most of the macro (close up) photography I take outside are usually pictures of flowers. I was able to find a couple insects and take macro shots of them during this hike!

Random fact about this hike: I had taken my Sony 50mm 1.8 prime lens out to take most of these macro pictures. It was my first time using it (I have used a 35mm or the past year). On the top of the mountain, I actually dropped my 50mm prime lens off the cliff (it went CLUNK CLUNK CLUNK as it bounced down each rock) at the end of the hike… so these pictures you see here are pretty much the ONLY pictures that were ever taken by that 50mm primes lens sitting and rotting somewhere in the forest at Washington NJ.

(WARNING: MORE Photography Jargon) Using my Sony A57 DSLR camera, I carried three lenses with me: my Sony 50mm f/1.8 prime lens (for portraits and macro shots), my Sony 75-300mm f/3.5-6.5 telephoto zoom lens (for far away shots), and my Samyang (Rokinon) 14mm f/2.8 ultra-wide angle lens (for landscapes).

FIrst, the macro shots:

The first two pictures are of a caterpillar species that I saw twice during the hike. These caterpillars look super white and fuzzy… searching it up, it’s called a Hickory Tussock Moth (Lophocampa caryae). According to the University of Wisconsin in Milwaukee, it has poison glands on the longer lashes that causes a burning and itchy rash. Glad I didn’t touch it, haha!

hiking924watermarked (19 of 28)

50mm   f/2.8   1/80 sec   ISO 400

hiking924watermarked (16 of 28)

50 mm   f/2.8   1/80 sec   ISO 200

hiking924watermarked (7 of 28)

Stinkbug (Halyomorpha halys).  50mm   f/5.6   1/160 sec   ISO 800

hiking924watermarked (15 of 28)

Here’s a picture of a daddy long leg (called the “Eastern Harvestman”Leiobunum vittatu). We saw a bunch of these on bench along the trail.

hiking924watermarked (9 of 28)

Bees! Not sure what type this is. Some sunlight bokeh in the background. 50mm   f/4.5   1/1600 sec   ISO 400

hiking924watermarked (8 of 28)

I believe this is a honeybee.  50mm   f/4.5   1/1600 sec   ISO 400

hiking924watermarked (14 of 28)

I wasn’t able to find out what animal this is… please contact me or comment if you have any clue! This worm or caterpillar would burrow itself into the leaves/dirt to protect itself. When I removed the dirt to look at it longer, it would curl into a “fetal” defensive position.   50mm   f/4   1/100 sec   ISO 800

hiking924watermarked (13 of 28)

50mm   f/4.5   1/125 sec   ISO 400

hiking924watermarked (12 of 28)

50mm   f/3.5   1/200 sec   ISO 400

A couple of landscape/telephoto pictures:

hiking924watermarked (6 of 28)

150mm   f/8   1/250 sec   ISO 200

hiking924watermarked (5 of 28)

14mm   1/125 sec   ISO 100  (NOTE: the aperture is adjusted manually on the lens, so I don’t know what f-stop it ended up being!)

hiking924watermarked (20 of 28)

Mini long exposure of running water.   50mm   f/13   0.4 sec  ISO 200

The 0.4 second exposure allowed the shot to have a silky water movement.

hiking924watermarked (18 of 28)

14mm   1/80 sec   ISO 400

hiking924watermarked (28 of 28)

Pre-sunset. 300mm   f/11   1/1000 sec   ISO 100

Lastly, a couple portrait/people shots:

hiking924watermarked (25 of 28)

Direct sunlight allowed for some interesting bokeh here. Thanks to Jen for standing still for me, haha!   50mm   f/2.5   1/125 sec   ISO 800

hiking924watermarked (27 of 28)

50mm   f/3.2   1/160 sec   ISO 800

hiking924watermarked (1 of 28)

Dorothy overlooking the peak of Point Mountain.   50mm   f/11   1/250 sec  ISO 800

hiking924watermarked (17 of 28)

Jen hopping on rocks in the middle of the river.   50mm   f/2.8   1/320 sec   ISO 800

hiking924watermarked (11 of 28)

50mm   f/3.2   1/1000 sec   ISO 1600

LASTLY, a selfie with the three of us… (no selfie sticks were used here. Actually, no selfie sticks will EVER be used for this blog… unless it’s a blog post filled with pictures of tourists and people using selfie sticks!).

hiking924watermarked (4 of 28)

14mm   1/125 sec   ISO 100

Thanks again for reading 🙂 If you like these pictures, please share this blog with your friends!

Follow me on instagram (@mattlau95)! Also, follow Jen (@jenwenlee) but I think she may have her account on private, haha!