Photography Guide A1: Introduction

When I was in 11th grade, I was determined to buy a fancy-schmancy camera, but my parents weren’t going to pay the big bucks for it.

I tried convincing my parents: I want to become a photographer. Unless I buy this type of camera, I can’t.

I accumulated enough money through my $10/hr camp summer job and bought that fancy camera. A $750 Sony A57-SLT. It was Sony’s starter version of the DSLR. I was already spending more money for a specific brand. I could have afforded a cheaper but equivalent starter “fancy camera” for half that price.

zurbeauty
My first fancy camera: a Sony A57-SLT.

For three years I used that camera occasionally. I didn’t bother to learn any technical skills that came from using a DSLR digital camera. I just used the Auto-Intelligence” mode.

What a waste! It was like buying an $1000 snowboard having no prior experience and using it to embarrass yourself by tumbling down the bunny slope.

Tip #A1.1: Buying an expensive camera does NOT produce better photographs.

A former Sunday School student of mine sums it up beautifully:

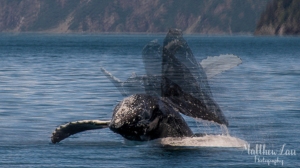
https://www.instagram.com/p/BQ8OuR2DPo-/

The camera is only a good as the person behind it. That can’t be more true. Looking back, I can shamefully admit that deep down, I did get a kick out of being a kid with a fancy camera. I felt cool.

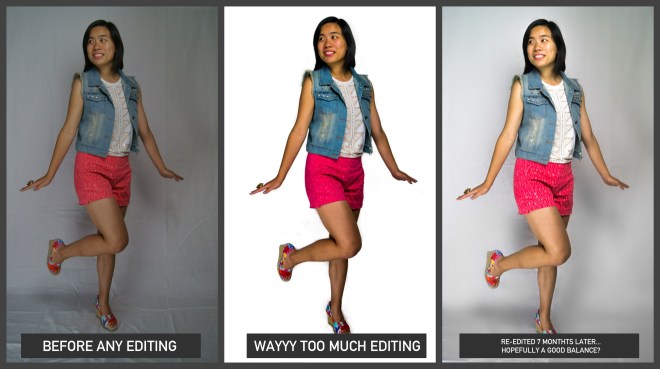
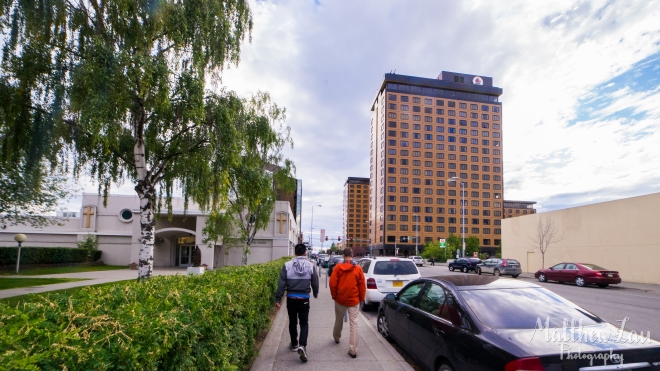
I made an effort to look like this:

15541022_10207622069525103_2366670475704819192_o
Picture taken by my buddy Yoyo

…while my photos came out like this:

10476558_10204684195607647_79141236220592241_o
Mike on that hike! (-) overexposed, (-) out of focus, (+) surprisingly, following the rule of thirds

I was using this expensive piece of hardware no different than I would use my iPhone before. Snap Snap Snap. I don’t want to miss anything.  I took lots of photos, but I had little to no understanding of the role of balancing light and exposure in a photograph.

It wasn’t until sophomore year of college (fall of 2014) that I really delved into learning more about photography and the technical skills. During a hiking trip, I was unable to capture certain scenes where the sun was very bright and affected my camera’s automatic sensors Stupid “Auto-Intelligence” mode. My friend Ariel then gave me a quick tip and showed me how to change my shutter speed. I was able to capture the scene more in a more desirable way and there was a sense of victory that came with it.

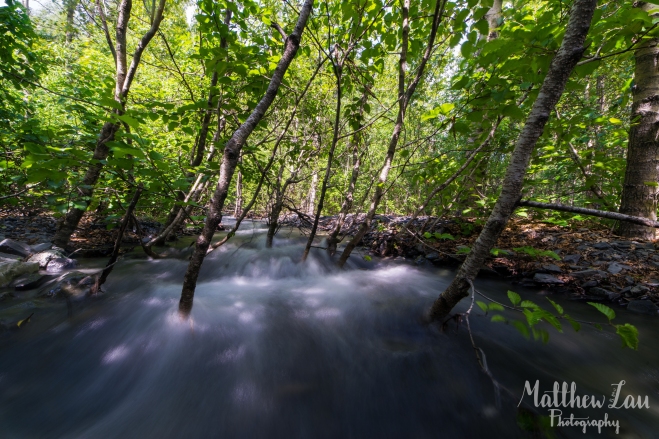
After that, I became fascinated with how a camera could capture certain images. I would see a beautiful photograph-like a starry sky or a silky waterfall-and wonder: how in the world do they do that?

Tip #A1.2: Knowing what you want to photograph before whipping out your camera goes a long way.

I would see something beautiful and embrace the challenge of capturing it. The process of completing the challenge required learning the technical skill behind using a digital camera and practicing it with lots of trials and errors.

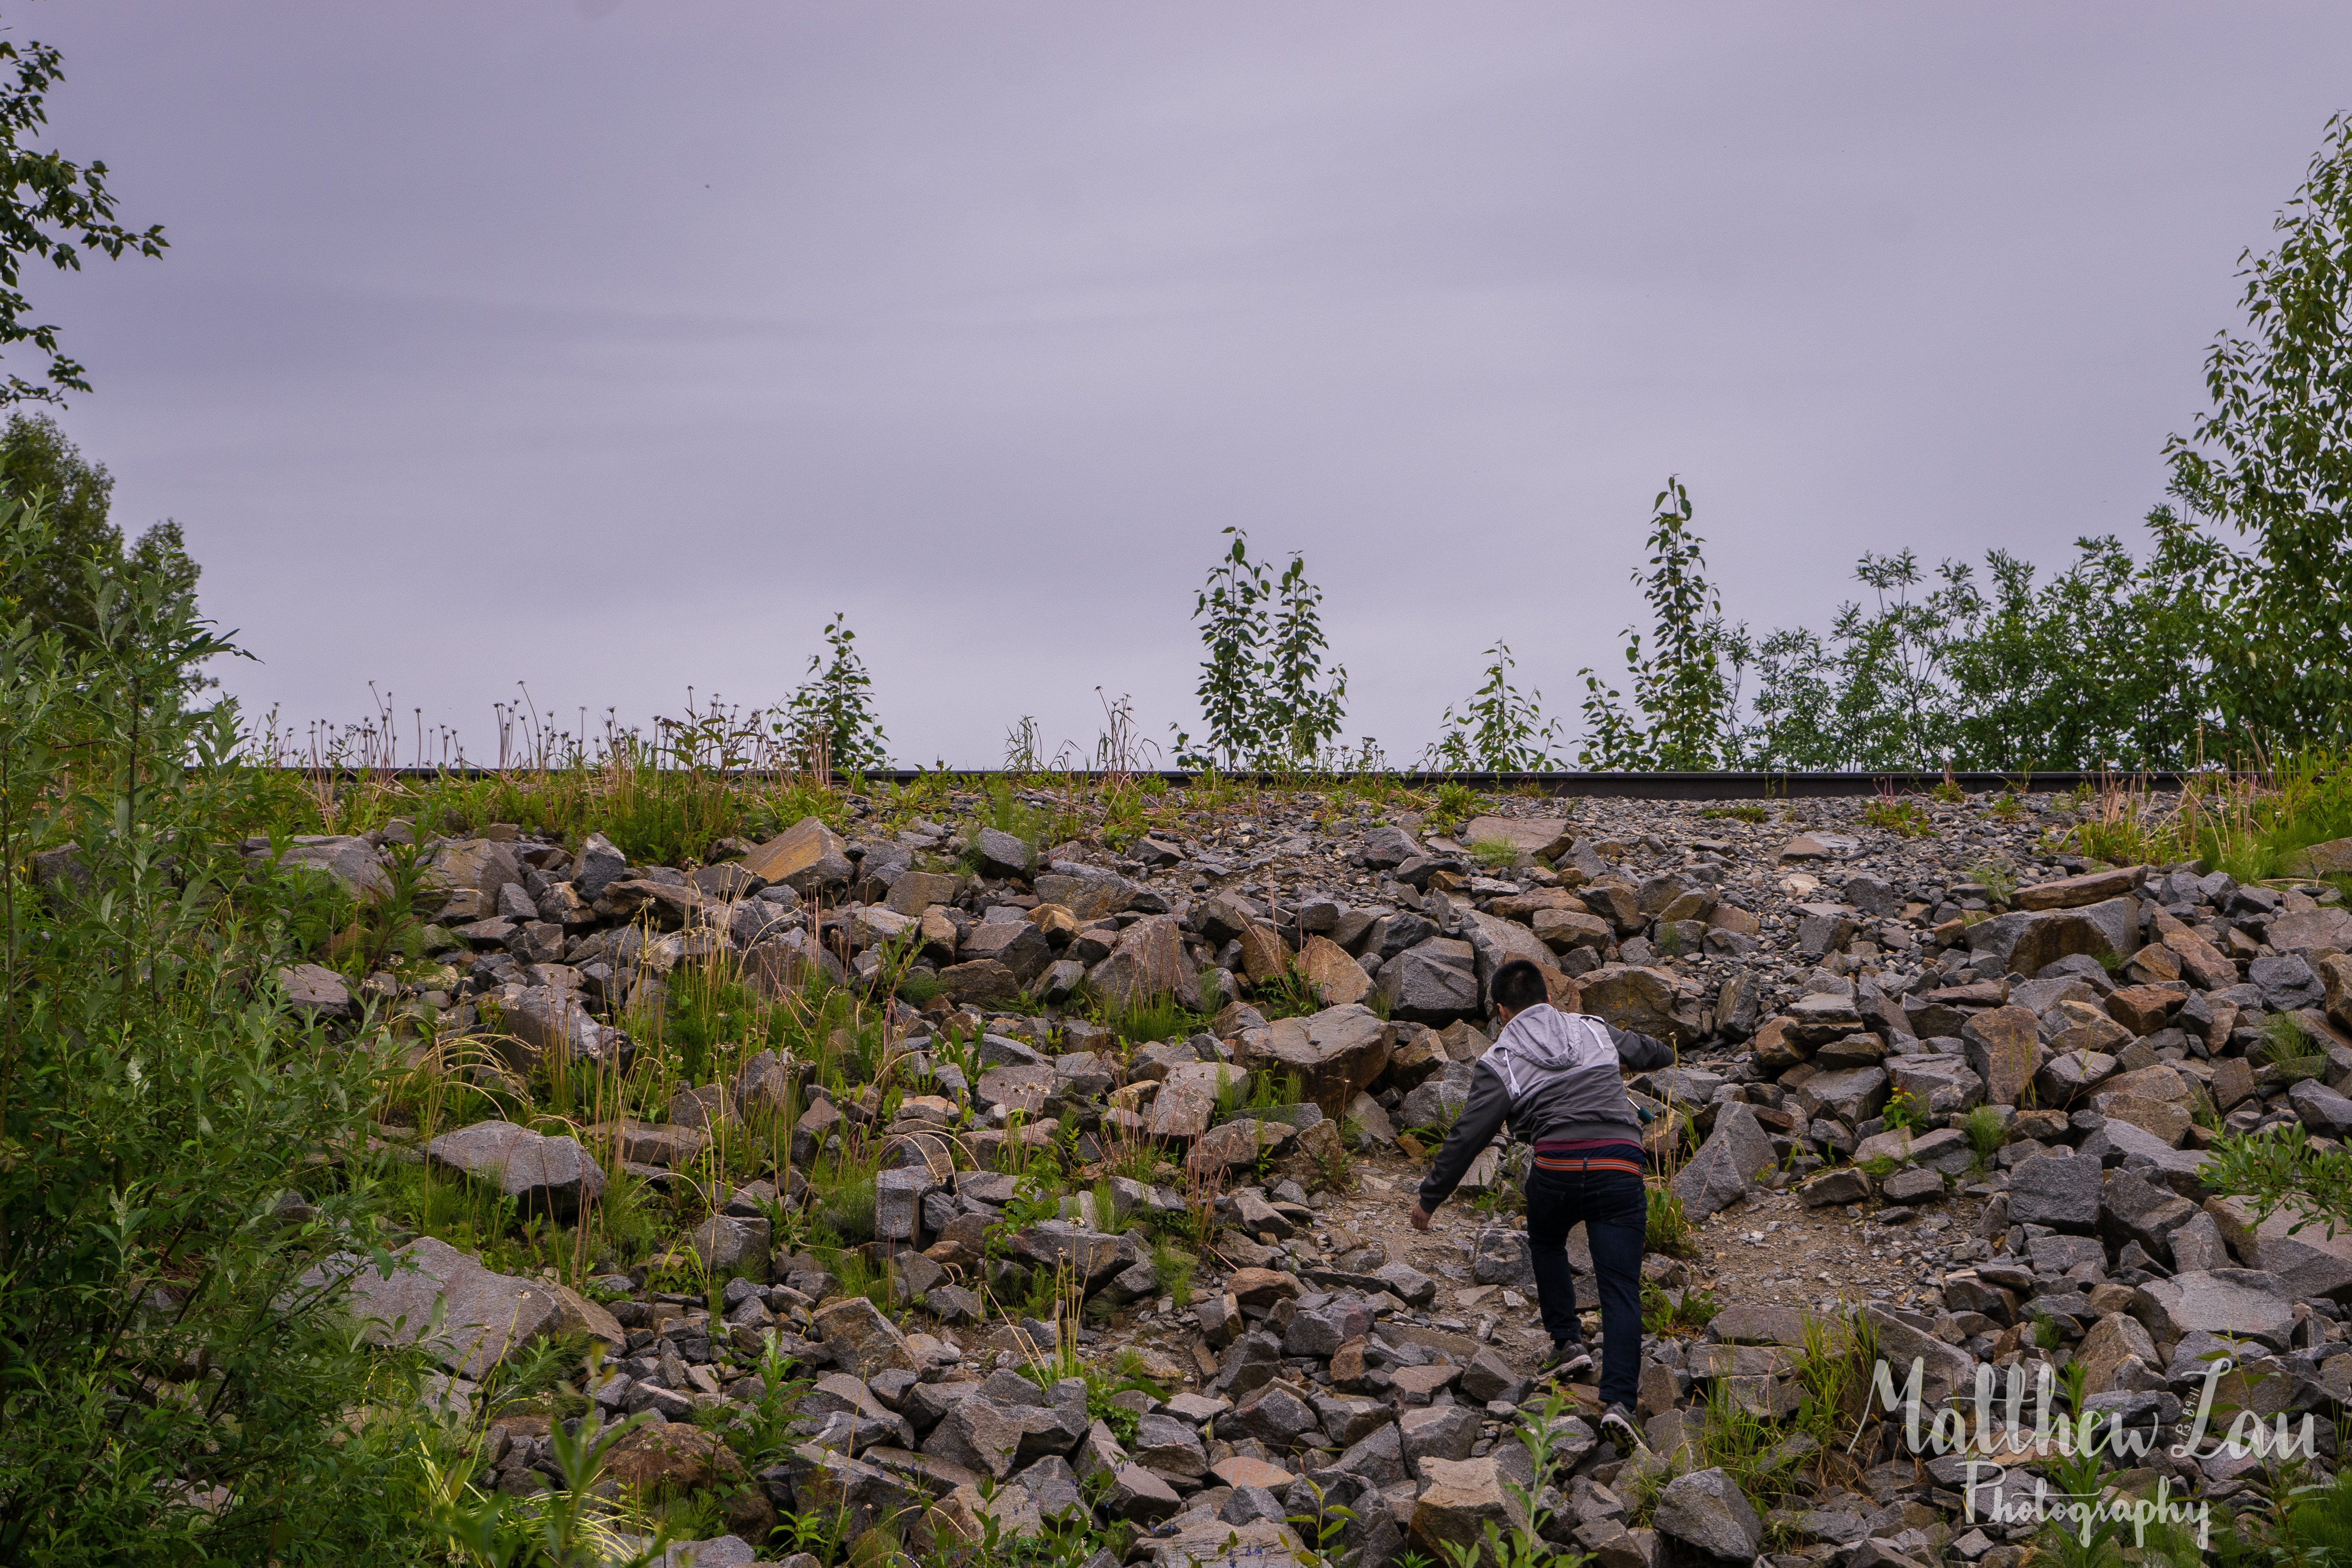
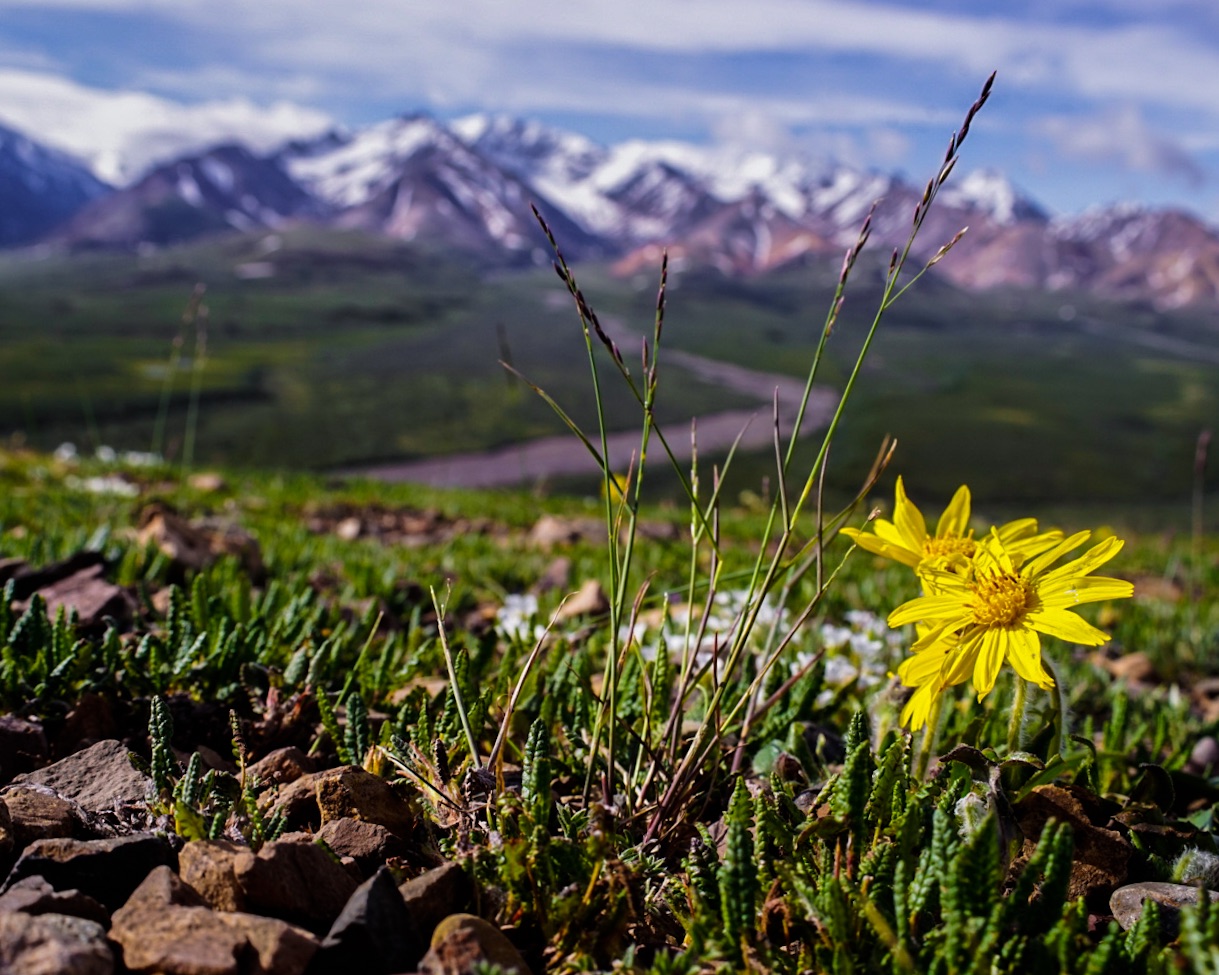
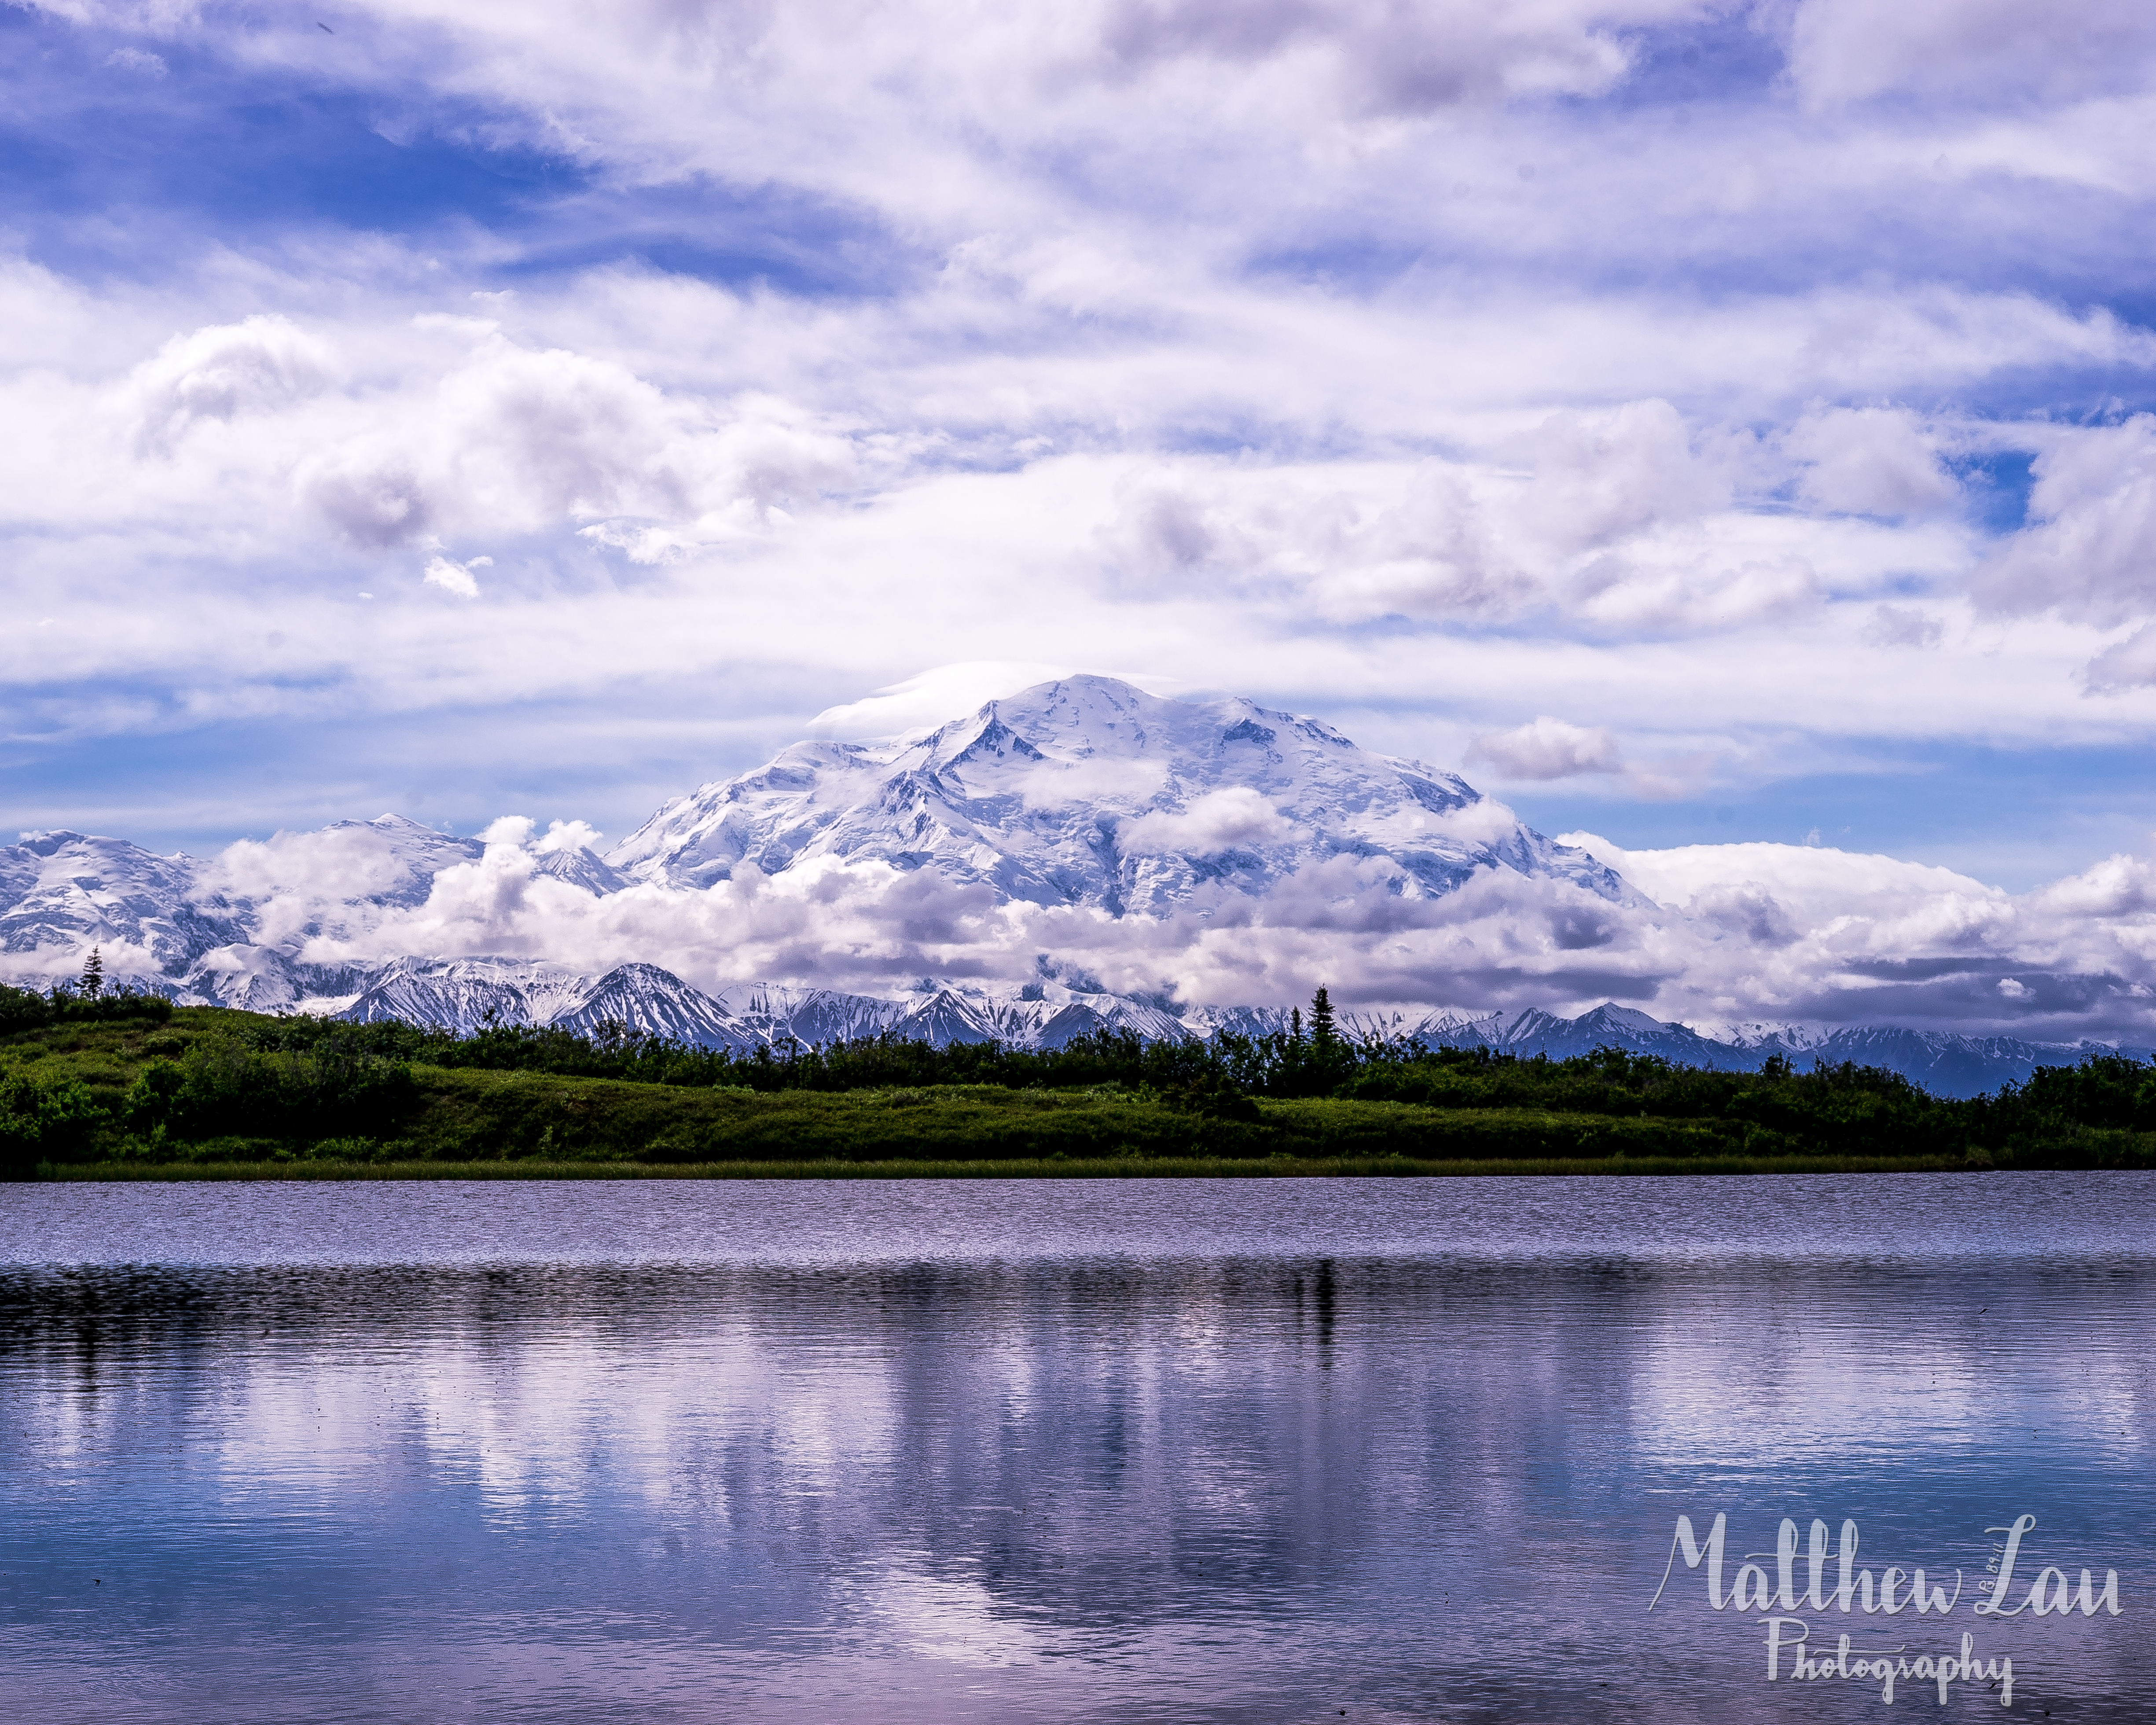
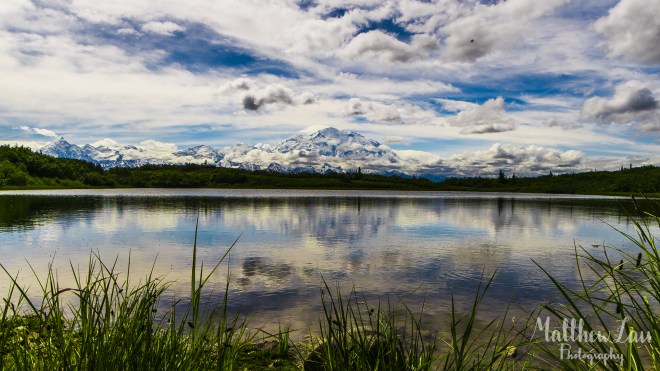
A few months later in the summer of 2015, I was able to capture the starry sky, as well as the silky waterfall. It just took time.

…my Instagram game was weak back then.

Even after these two small victories, I still had much to learn to reach the point I am now. My interest in photography has led me to some great photographic experiences while at home and on vacation. I’ve been able to take pictures for a family-friend’s sweet 16 and be an assistant for a friend’s wedding. Now at school, I’ve had a chance to be a photographer for the career services department at my school. Without challenging myself to learn more, I would certainly not have had these opportunities. And I’m definitely still learning! With that in mind, I’ve decided to write a few blog posts with my photography journey filled with the tips and lessons that I learned along the way.

Challenge: Next time you see a beautiful image, challenge yourself to capture a photograph in a similar way.

Thanks for reading! Please comment with any questions and suggestions.

Always remember your Right to Bear Arts!

RTBA_sm.png
by the Creative Coalition


***

Terms:
1#: DSLR
– stands for digital single-lens reflex camera. It means one of those fancy larger cameras toted by photographers.
-The term DSLR is sometimes used to mean a camera that has specific manual settings (for aperture, shutter speed, and ISO). A camera with manual settings doesn’t have any official nomenclature- it’s simply “a camera with manual settings. There are smartphones and point and shoot cameras that have the capability of having manual settings.
-The term DSLR is also sometimes used to mean a camera that can use different lenses. That is also incorrect- the correct term for that would be “interchangeable lens camera.” 

#2: Exposure – the amount of light that reaches the camera’s sensor.

#3. Shutter Speed – the amount of time a camera opens it’s shutter to expose the camera’s sensor to light.
-The longer the shutter speed, the brighter the exposure.
-Shutter speed is usually measured by seconds and second-fractions (e.g. 1/100 s, 1/30 s, 10 s).
-A fast shutter speed would be required to freeze a moving object.
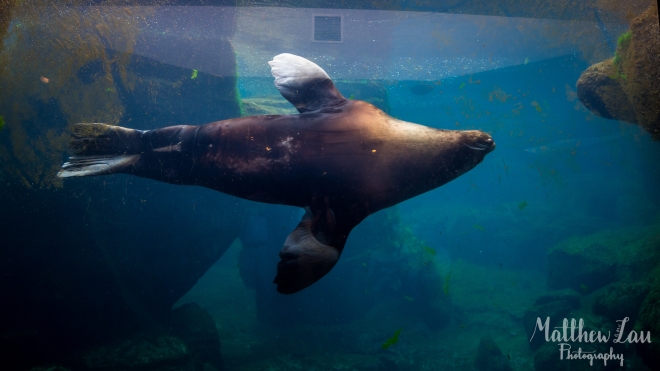
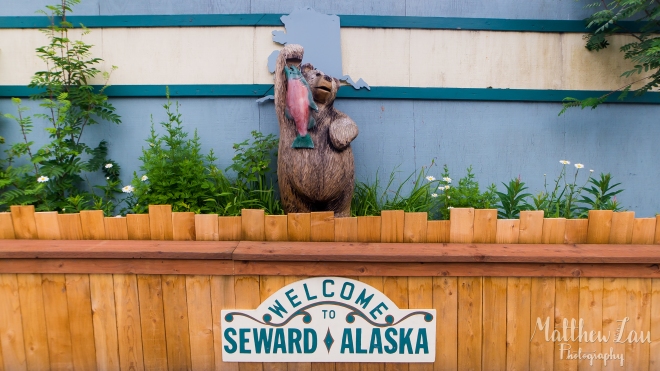
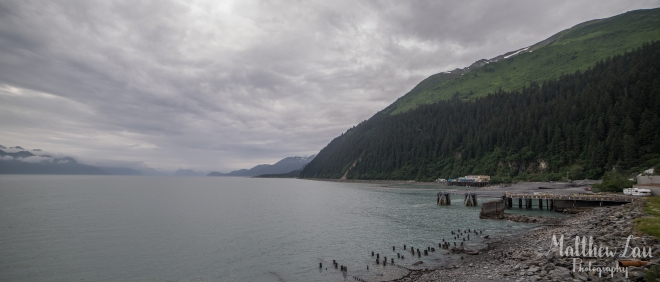
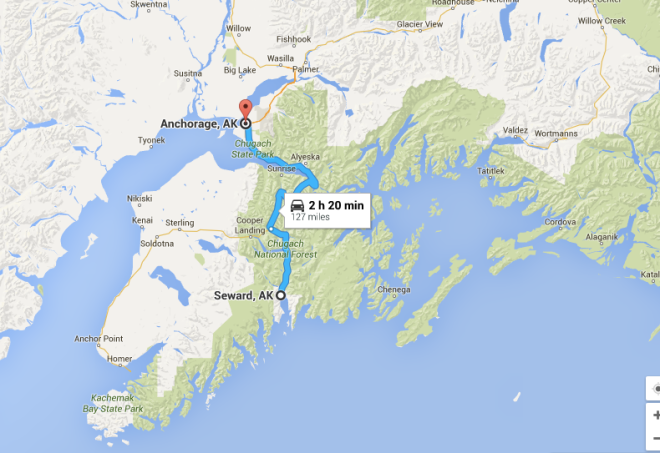
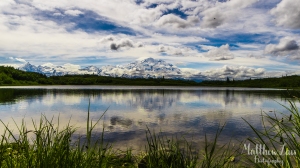
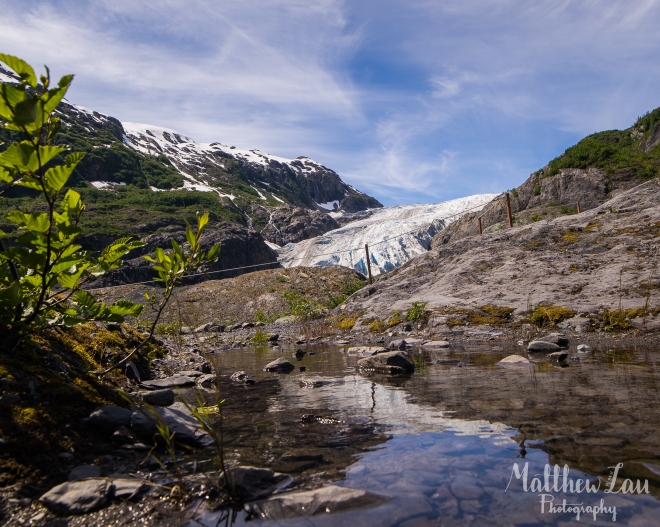
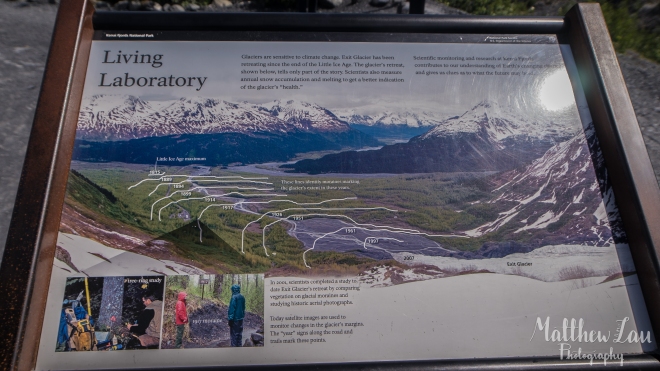
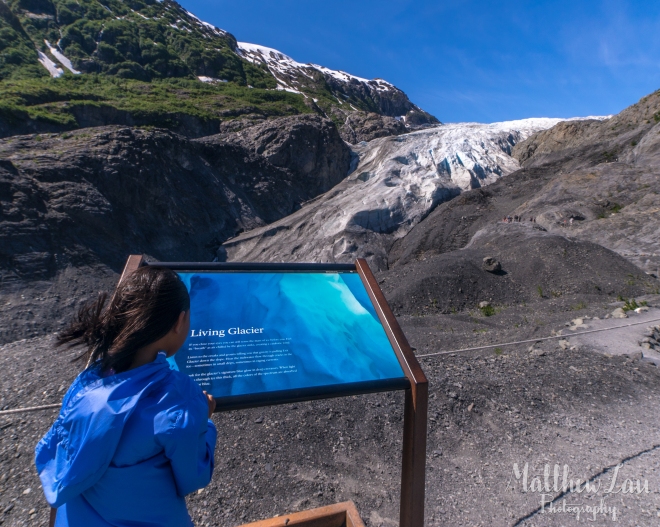
OBX.1

A couple of good friends and I have road tripped from NJ down to NC for a end-of-summer vacation.

Screen Shot 2016-08-25 at 12.42.48 AM

We first spent some time at Cape Hatteras, before going to our Air BNB vacation home. We didn’t spend too much time at the beach, we’ll be coming back in day two- kits were flown and candid portraits were shot!

Let’s Go Fly a Kite

Beach Portraits

Milky Way and Meteor Puddlegram
When we got to our vacation lake home, I was excited for the sun to set, and for the sky to darken. When time finally came to look at the stars, I was in awe. The photo below is a lot brighter than what the eye sees, but I was able to see the accents of the Milky Way through the naked eye here in the Outer Banks. Captured a meter/shooting star as well! 🙂

milkyway-send-to-jon-lo-2

Alaska Day 6: Puffins are too cute + Back to Anchorage.

Day 6 begins in Seward for the morning, and ends at Anchorage, our last stop, for the evening.

My brother and I visited the Alaska Sealife Center, which is an the aquarium and aviary. Much like the Wildlife Conservation Center we visited on Day 3,

alaskasealifecenter.gifalaskasealifecenterScreen Shot 2016-07-12 at 5.15.28 PM

“The Alaska SeaLife Center is the only facility in Alaska that combines a public aquarium with marine research, education, and wildlife response. 

While primarily dedicated to marine research and education, the Center is the only permanent marine mammal rescue and rehabilitation facility in the state.”


-From the Alaska SeaLife Center Website (http://www.alaskasealife.org)

I really appreciate centers like this, because they provide normal people to see animals and wildlife up close, study them scientifically to further our research knowledge about animals. However, the reason why I these centers the most is because many of the animals we see inside the SeaLife center are rescued injured or orphaned wildlife that receive rehabilitation at the center.

Alaska SeaLife Center in Seward, AK

The following photos were taken by me at the Alaska SeaLife Center in Seward, AK.

day6-1
Sleeping little bird! Aww 🙂
day6-2
Horned Puffin
day6-3
Tufted Puffin
day6-4
I really like horned puffins.
day6-5
They’re too cute!
day6-7
I mean look at them!!!!!!

day6-8

day6-9
Napping seal.
day6-11
Seal swimming upside down.
day6-13
Large Sea Lion.
day6-12
Flounder flapping around.


After some gift-shopping and lunch with the family, it was time to say goodbye to the pretty little town of Seward.

day6-14

day6-10

And on to our last stop (where we began): Anchorage.

Screen Shot 2016-07-12 at 7.02.26 PM.png
Google maps: Seward to Anchorage.

Anchorage is a very pretty city to photography because even though there are a lot of buildings that make for good “cityscapes,” There is often a view of a mountain in the distance.

day6-16
Sleeping little bird! Aww 🙂

My brother’s freshman college roommate happens to live in Alaska, and was in Anchorage, so we had dinner with him and my brother was able to catch up with an old friend. It was also a plus because he knew the city well.

day6-17
My brother and his old college roommate.

By this time, I was pretty burnt out from all the traveling. However, I did for sure enjoy seeing the puffins, and Anchorage is a very pretty city. Decently quiet as well! Just one more day left!

IMG_1858
Day 0: 30 Hour Trip
denali  mount-1
Day 1: Denali National Park
talkeenta-23by9-traintrack-1
Day 2: Rain in Talkeetna
Alaska-day-4-11
Day 3: Talkeetna to Seward, and Views Along the Way
Alaska-day-54cov-1000
Day 4: Cruise Through the Gulf of Alaska
day-5-1004
Alaska SeaLife Center in Seward, AK

Alaska Day 5: Exit[ing] Glacier.

Day 5, our second day in Seward, we went to see glaciers again, the day before on water, but this time on land! We visited Exit Glacier in Kenai Fjords National Park. It’s a shorter and accessible trail, so pretty much anyone could walk the path and see it 🙂

day-5-1004
Puddlegram! Exit Glacier reflected in a puddle.
day-5-1000
My family enjoying the view of the glacier!

The sad thing is, Exit Glacier is, well, exiting! The picture below is the one of the closest vantage points the park’s trail takes us to view the glacier. In 2010, the glacier was much larger. I would have been able to touch the glacier from where I took this photo only 6 years ago. 100 years ago, the glacier, the mile trail we walked was essentially all glacier.I essence, the glaciers in Alaska have all been slowly shrinking since the end of the earth’s ice age, but in just the last decade, it’s been shrinking faster and faster, and Exit Glacier here is an up close and personal example of one of them.

day-5-1003
This picture shows how far the glacier had been just back in 2010.

If that picture doesn’t scare you, how about this one? I took it from farther back where the glacier reached back in 2005, just eleven years ago (I was only ten years old, and I just turned 21 recently). I also added an indicator below to show where I was standing for the photo I took above of the 2010 sign.

20052010
The glacier’s size back in 205. In 11 years, the glacier has shrunk from 2005 sign to the one you see in the photo now. The “2010” arrow points to were I took the photo above this one- how large the glacier was in 2010.

What were you doing in 2005? 2010? Comment below 🙂

In the infographic below, Kenai Fjords National Park scientists also say that the glacier used to be much larger, and has been shrinking and melting more and more every year.

day-5-1005
Information and graphic in this photo belong to Kenai Fjords National Park.
day-5-1001
A mini-water fall within a crevice of the glacier.

My brother made an extra climb up closer to the glacier, and he got to touch it! Check out his Instagram post below, and follow him @timclau 🙂

A few non-glacier pictures taken along the trail. Cool to think that all the trees, rivers, flowers, and earth used to be frozen less than a century ago!

day-5-1009
(Long Exposure) – river we had to cross to see the glacier.
day-5-1006
(Macro) small flower that was along the trail to see Exit Glacier

We ended the day by going back to Seward and taking a stroll around Seward. Turns our there is large RV park by the bay, and lots of families either camping out or living in their RVs. It’s a beautiful place to be in the summer.

day-5-1007
RVs and/or Campers around a fire.
day-5-1008
The Seward Beach.

I hope you enjoyed these photos of Exit Glacier and the Seward Bay. However, I want to challenge you to educate yourself on the warming of Alaska. I know there is lots of controversy about the politics of global warming and climate change. However, I’m not asking you to look into politics, but to check out and see if beautiful natural wonders of Alaska-its glaciers for example-may soon cease to exist. Also, with glaciers gone, cute little tourist towns like Seward may lose its large amount of tourism, which is important for the town’s economic well-being (when no tourists come in the coldest months of winter, many Seward residents and workers actually leave for a break because there is no work for them).

The Natural Resources Defense Council, or the NRDC, a non-profit that aims to protect the earth’s natural ecosystem and the animals, plants, and humans within it. They have fought for clean water in Flint, Michigan and have campaigned against the antibiotics found in Kentucky Fried Chicken’s poultry. These are just two of the many projects they’re working on- and they reported the day I arrived back in Jersey that Alaska is having the hottest year ever recorded. Check out their tweet below:

The US Environmental Protection Agency (EPA) has been tracking the impact climate change has had on Alaska as well. They say that there have been an increase in wildfires in the state, and its lakes and ponds are getting smaller due to warmer weather resulting in increased evaporation.

You can take what I say with a grain of salt. I’m not trying to convince you to believe everything I say, but I do hope that you would at least educate yourselves about the climate change in Alaska if you have not already. The unfortunate conclusion is that in just a couple of years, kids will never be able to see glaciers in Alaska anymore.

day-5-1-1000
Soon there might not a be a glacier for us to see anymore 😦

But two truths are clear:
1. Alaska is having the hottest year that’s ever been recorded.
2 This glacier, Exit Glacier, has been shrinking faster and faster by the decade, and so are the other glaciers in Alaska.

For me, that’s enough reason to start demanding climate action when I can, and having a different perspective on how I treat my earth’s ecosystem- even back home in the suburbs of New Jersey.

What do you think of this “warming of Alaska”? I’d like to hear your opinion if you would like to share; comment below!

Thanks for reading! Be sure to check my past photo blog posts about Alaska by clicking on the images below 🙂

IMG_1858
Day 0: 30 Hour Trip
denali  mount-1
Day 1: Denali National Park
talkeenta-23by9-traintrack-1
Day 2: Rain in Talkeetna
Alaska-day-4-11
Day 3: Talkeetna to Seward, and Views Along the Way
Alaska-day-54cov-1000
Day 4: Cruise Through the Gulf of Alaska

Alaska Day 4: Cruise through the Gulf of Alaska

Our first day in Seward, we embarked on a day cruise ship named the “Orca Voyager” with the wonderful Kenai Fjords Tours and sailed in to the Gulf of Alaska to see glaciers and wildlife. We saw orcas, sea lions, otters, puffins and other birds, and the humpback whale).


Screen Shot 2016-06-26 at 9.44.12 AM
Just to give an idea where Seward is in Alaska.


fjord_map
Our cruise took this yellow trail. We left at 10 AM, and got back past 6 PM. Picture from http://nomad.hu/~bszabi/niagara_dosszie/alaska/


The Seward harbor and our cruise ship, the Orca Voyager.

Alaska-day-5-28
Just to give an idea where Seward is in Alaska.
Alaska-day-5-25
Our ship, the Orca Voyager


Otter – before docking the ship in the morning, we found an otter chewing away on a fish right next to the harbor boardwalk. Pretty adorable 🙂

Alaska-day-5-1Alaska-day-5-2

Orcas (Killer Whales) – I wasn’t able to get many good photos of the orcas, but they’re one of my favorite animals! This photo came out alright.

Alaska-day-5-101

Humpback Whale – another aspect of our trip (like the weather during our Denali tour and the weather during the cruise), we found a humpback whale (probably a young one according to the ship captain) that jumped almost 30-40 times, and waved to us, sort of showing off. But it was a beautiful sight. My dream is to see more dolphins ❤ in my home state, in Atlantic City.

Alaska-day-5-102
Humpback whale posing with a glacier. Probably my favorite photo of the day, perhaps the week!


Alaska-day-5-100-2
Stitched a couple of continuous shutter photos together!


Alaska-day-5-103
The was real close to the ship for this picture. I wish i didn’t cut off a little of the nose though, haha!


Alakik Glacier – this glacier could be gone in a couple years!


Alaska-day-5-16
Alakik Glacier


Birds – there were lots of seagulls, puffins, and other birds, but most of them were very small to see. Puffins especially. Without binoculars or anything, it was hard to see the cute faces of the puffins. But there were so many. The captain liked to point out large puffins to us; she said that there are puffins who have eaten so much that they can’t fly, and when they try they end up failing. That’s sort of adorable :). At the Wildlife Center in Seward that my brother and I visited on Day 6, so look out for some adorable puffin pictures on my post for that day!

Alaska-day-5-17
Soooo many birds.

Sea Lions – these water had a couple sea lions that are called “Stellar Sea Lions.” They are branded with a letter/number combination, for studies. I found a link online to a spreadsheet that tracks where they’ve been seen.


Alaska-day-5-19
Sea Lion posing with seagulls.


Alaska-day-5-20
Sea Lions napping. The darker sea lion climbing up is a “Stellar Sea Lion.” He is branded with letters to track him for studies inside these waters.


Alaska-day-5-23
First thought this could be mother and child. However, my dad said he read that female sea lions are much smaller than male sea lions. So this could be a romantic photo ❤

We stopped by Fox Island, where they had a cafeteria that served us salmon, prime rib, and if you wanted, king crab for an extra fee, as part of the overall tour package. Then we returned home, finally, after an 8 hour trip.

Extra Tidbit: The Van Gilder Hotel (Alaska’s Oldest Hotel) – for two of our three nights at Seward, we staid at the historical place called The Van Gilder Hotel. It’s very historic and has been placed by the U.S. Department of the Interior as a part of the National Register of Historical Places. Essentially the hotel has kept his architecture very much the same and using their old fashion beds and antique furniture. There are obviously renovations , such as added TVs and bathrooms. There were still bathrooms and even a shower room in the hall of the floor I stayed on.

After we left, my brother said that there is a myth about a ghost inside the Hotel, called “The Ghost of Fanny Guthry-Baehm” (there’s even a book about it). I’m glad he told me after we left, or I may have been freaked out. The synopsis of the book linked above says “Fannie Guthrie-Baehm was murdered in room 201 in 1947, and her ghost has been witnessed by many over the years.” Oh my. Chills. Would I recommend the hotel? I’m not sure. I liked the historical vibe, but it wasn’t as comfortable as a normal hotel. Also, now that I’ve read up on the myth, it’s spooky. But the owner was nice and helpful!

Alaska-day-5-29Alaska-day-5-32Alaska-day-5-30Alaska-day-5-31

IMG_2101
The TV was put really high up (top left corner, mostly cut off in photo). Antique lamp and phone on the right side of the photo.

IMG_2095

Day 5 coming up soon :). Thanks for reading!

Read about my previous days clicking on the labeled photos below:

IMG_1858
Day 0: 30 Hour Trip
denali  mount-1
Day 1: Denali National Park
talkeenta-23by9-traintrack-1
Day 2: Rain in Talkeetna
Alaska-day-4-11
Day 3: Talkeetna to Seward, and Views


Alaska Day 3: Talkeetna to Seward, and Views Along The Way

Alaska Day 3: our day will finish down south in Seward. It’s 200+ miles south of Talkeetna, with Anchorage (where the airport is) in between. You should know that Alaska has two legs right? Well, there’s a little peninsula between the two legs- that’s where Seward is- on the south coast.

Screen Shot 2016-06-24 at 10.34.02 AM.png

We stopped by three places before reaching Seward:
1. Potter Marsh Wildlife Viewing Boardwalk – a boardwalk where there is a lot of grassland water. The water apparently was created by man, by accident. We saw a moose, eagle, and lots of other birds at the Marsh.
2. Beluga Point – a lookout point by the water viewing the Ocean between the peninsula and the West Alaska. There are apparenty Beluga whales that come by the coast, but we didn’t see any.
3. Alaska Wildlife Conservation Center – this isn’t exactly a zoo. This conservation center’s animals (beats, bison, deer, elk, etc.) are mostly hurt and/or orphaned, and the center takes very good care of them. Just last year, they released a large group of wood bison back into the wild. There are three bears- two were  orphaned cubs when their mother was shot. Another was found injured by a porcupine by some people snowmobiling in Alaska. I’m really glad that this conservation center is seeking to help animals, not just show them off for attention or money. 🙂


1. Potter Marsh Wildlife Viewing Boardwalk

Views of the water and grasslands at the Potter Marsh:Alaska-day-4-1Alaska-day-4-2Alaska-day-4-3

Some wildlife:

Alaska-day-4-4
The moose we saw, wth the potter marsh in the background.


Alaska-day-4-5
The moose we saw, wth the potter marsh in the background.

Alaska-day-4-6Alaska-day-4-7Alaska-day-4-8Alaska-day-4-9


2. Beluga Point

Alaska-day-4-11
View of southwest Alaska at Beluga Point.

Alaska-day-4-12Alaska-day-4-13Alaska-day-4-14


3. Alaska Wildlife Conservation Center

Alaska-day-4-16
Deer 🙂
Alaska-day-4-17
Aw, bear, I’m tired too.
Alaska-day-4-18
This bison on the right is peeing!
Alaska-day-4-20
Mom & Dad ❤

After the Conservation Center, we drove another 2 hour or so and made it to small town Seward. It was around 9 PM Alaska time, and most restaurants were closed, but we were able to find dinner 🙂 We would be staying in Seward for 3 nights. Stay tuned!

Thanks for reading! Check out some of my past posts by clicking on the images below, and keep a lookout for Day 4!

Also, you can see more pictures on Instagram: https://www.instagram.com/narcol_optic_photography

IMG_1858
Day 0: 30 Hour Trip
denali  mount-1
Day 1: Denali National Park
talkeenta-23by9-traintrack-1
Day 2: Rain in Talkeetna


Alaska Day 2: Rain in Talkeetna

Our second day in Alaska was rain-filled. However, we had a whole day in Denali National Park in the sun, and got to see the great Denali mountain, so we could only count our blessings! Our morning was pretty relaxed because of the rain, and then we drove from Healy, AK (our motel near Denali) back down south to our next stop, Talkeetna, AK.

Screen Shot 2016-06-23 at 5.55.41 PM.png
Healy to Talkeetna
talkeetna-rain-2-1
Healy to Talkeetna

Without much to do outside because of the weather, we arrived at our lodging spot in Talkeetna around 4:00 PM Alaska time, or 8:00 PM EST. It’s a very lowly-populated little town, with on around 876 residents inside a square milage of 42.9 square miles. Talkeetna is a great place to find airplane tours to see areas around it (including Denali), and is also a prime spot to see the Aurora Borealis (Northern Lights). Unfortunately, it’s too bright at night (it never really gets dark here) to see the Aurora during the month of June 😦

talkeetna-rain-2-11
Our cabin in Talkeetna.

Because of the rain, we had a lot of free time. We were able to watch Game 7 of the NBA Finals entirely 🙂 Congratulations LeBron! Usually, on vacations like this, it’s very easy to want to use every hour of every day, but during our vacation, we’ve had a lot of time to relax and rest just as much as exploring the amazing state of Alaska. I’ve really enjoyed that and a lot of that goes to my brother Tim’s specific but flexible itinerary! Thanks bro!

talkeetna-rain-2-2-2
Healy to Talkeetna

After the game, we decided to visit Talkeetna’s downtown. To walk there, we walked a path through the woods that required us to cross some train tracks. Train tracks tend to look nice in photos….. hahah!

talkeetna-rain-1-2talkeetna-rain-3

talkeetna-rain-2-2
Healy to Talkeetna

We reached downtown Talkeetna rather quickly, it wasn’t very far away. It consists of many little houses, mostly restaurants, bars, gift shops, and travel offices. It was cute, but it was pretty quiet and empty.

talkeetna-rain-4
Healy to Talkeetna

We had dinner at the Wilderness Cafe, which had phenomenal seafood. As well as salmon, halibut is very popular here in Alaska. There’s Halibut at almost every restaurant, and it’s actually more expensive than salmon.

The Wilderness Cafe had cool dishes like seafood curry (with halibut, crab, salmon, shrimp, scallops, etc. all in one dish), a deep-fried salmon burger that my brother loved, and many other dishes.On our way in, a couple walking out said: “when we came in, the people leaving our table said it was worth the wait.” After eating there, my family agreed.  If anyone visits Talkeetna, I highly recommend eating here!

talkeetna-rain-5
Wilderness Cafe, where we had dinner.
talkeetna-rain-8
Healy to Talkeetna

After walking home a different route, we essentially rested for the night, getting ready for another long drive all the way down south to Seward, AK, where we would be staying three nights.

talkeenta-23by9-traintrack-1
Healy to Talkeetna
talkeetna-rain-2-12
Healy to Talkeetna

Talkeetna was a small town and it was rainy all day, so we didn’t get to do too much there. However, my family and I got to stroll through it’s quaint little downtown, have a great seafood dinner, rest up, and also watch the NBA finals 🙂

Thanks for reading! Click the photos below to read the last couple days in Alaska 🙂

IMG_1858
Day 0: 30 Hour Trip
denali  mount-1
Day 1: Denali National Park

Alaska Day 1: Denali National Park

Day 1 after 30 hours of travel and a good early night’s rest (also adjusting to the 24 daylight called “Midnight’s Sun” here in Alaska), we were up early and were off by 7:15 AM to Denali National Park, home to Denali (formerly known as Mount McKinley), the highest peak in the US.

The only way to get into the park past a certain point is to use the park’s bus tours (the main road extends to 84-89 miles long, but private cars are only allowed to drive past mile 15 now). The bus we signed up for went from the parking lot to the 84th mile – Wonder Lake. The bus made about 8 stops give or take, and the bus also often stopped if there was any wildlife near the roads. The buses would be rotating very often, so if we wanted to stay at any certain spot and enjoy the view longer, hike a trail or two, or even camp, we could, and other buses could take us a long later. However we stuck with the same bus all day, and the trip went on from 7:30 AM till around 6:30 PM (almost 11 hours!). 168 miles on not the best terrain, with stops along the way.

IMG_1878
Bus tours are the best way for us to see Denali National Park. (Sony !7)

Everywhere we went, there was just so much distance to see for miles and miles, and beautiful mountains surrounding us.

denali-1

denali2-1

IMG_1883

denali2-2denali2-3

IMG_1943
Denali (Mount McKinley) and the reflection pool.

We saw a good amount of wildlife.

denali-4
A moose about 100-200 yards from our bus.
denali-9
Bear and Cubs
denali-8
Bear and Cubs
denali-7
Male Moose
denali3-1
Elk
denali2-5
Sheep
denali2-6
Sheep

Our bus ride might have been great, and the car ride could be boring, but our driver might have been the highlight of the trip. A school bus driver during the year, she gets to work in Denali National Park, interacting with people, telling stories,  or make lots of jokes. Thanks, Wendy, for being a compassionate and loving driver and tour gjide.

IMG_1928
Our cheerful and incredibly bus driver and tour guide, Wendy.
denali-6
Family Photo with Denali. #30percentclub
denali  mount-1
My favorite picture of the day for sure!

On our bus, we met an older couple who owned an RV and have been driving for a long time. The lady told us we must get food at the “Salmon Bake” and that it’s worth it. It was! Salmon and Halibut are Alaska’s favorites. Also, Happy BIrthday Mom!

IMG_1929
Dinner (delicious salmon and halibut).

Long day. Stay tuned for Day 2 🙂

IMG_1858
Day 0: 30 Hour Trip.

The Jasmine Series Part III

I’m really loving going back and re-editing photos and seeing how much I have learned regarding both taking photos and also editing them.

August 8, 2015: Rutgers Community Christian Church, Somerset NJ.

Jasmine studied abroad for the Fall semester, so this was the last time I got to really see her before she left! We both had a free afternoon on this Saturday at church after praise practice on the same team. We took a Sunday school classroom and I set up some simple lighting with two soft boxes. Jasmine brought 4 different outfits to wear, so I’m going to split up photos from this day into two days.

This is my first time trying to use studio lighting for portraiture, and it was not easy. Here are five photos that came out nicely 🙂

day3yeswater-1

jas-42.jpg

Tried a different type of lighting here:day3yeswater-3

day3yeswater-2

jas-4-2.jpg

Lesson #1: Be prepared. Know how you’re going to set up your lighting. I didn’t really know what was doing… so it was not easy to get started. However, it was a good first learning try.

Lesson #2: Make sure, make sure, the subject is in focus. It may look nice from far away, but the photo may still be blurry or out of focus. Using two slow of a shutter speed will cause blur and unsharpness too.  A lot of my photos were off because I didn’t make sure they were coming out sharp and in-focus.

This photo had a cool candid expression from Jasmine, but was out of focus 😦
jas-3

Lesson #3: Back up your SD card photos as soon as possible. Don’t put it off! I only imported a couple of photos what were RAW format (more data to edit on Adobe Lightroom). Then I lost my SD card. Most of the photos I ended up having are the .JPGs, which aren’t as nice to edit as RAWs are (RAWS are around 18-24 megabytes, when .JPGs are around 1-9 megabytes). Losing nice pictures are the worst! I took parent/student photos about a year and a half ago for a youth group graduation for 8th graders headed to high school, and then I broke the SD card before backing up the photos. I never got to send those kids and their families their pictures, because the pictures were essentially gone forever!

Lesson #4: When using a muslin or cloth backdrop, IRON THE BACKDROP, or else it’s all wrinkly and bleh. I didn’t iron the backdrop and used wrinkly backdrop. It is hard to edit the photo in a way where the backdrop wrinkles were not so obvious.

Lesson #5: You can only edit so much. The goal of editing is to make the photo look even better.  However, like all things, there can be TOO much editing.

Collage BEFORE AFTER final

Here is an example of the original photo, the edits I made last August, and the edits I made today. Big difference. You can see the wrinkles in the first photo, before editing. In the second one make the whole background behind Jasmine bright white, which looks simple overdone (tried too hard). The final one, used blurs and such to take away the wrinkle, but keep a sense of real shadows in the background.

However, it’s not perfect. You can still tell that there are wrinkles in the background, especially near the subject… so note to self: IRON THE BACKDROP! It’ll make life so much easier

To be continued… check out the rest of the series below!

The Jasmine Series

jas416-2
Part I
day2-2429
Part II


The Jasmine Series: Part II

Part II: June 26, 2015, Rutgers University – Livingston Campus, Piscataway NJ.

Livingston Campus is the favorite campus of both Jasmine and myself. In fact, even though we attended the same church and youth group growing up, we actually really became friends during freshman year, living on the same dorm floor… on Livi!

I don’t remember how planned out this was. Regarding the pictures, I learned my lesson regarding sunlight and the face shadows it creates at most angles. The first photo I took was taken in an area where it was completely shadowed from direct sunlight (by the student center  building) so the light is even across the photo. I angled the rest of the photos with the sunlight directly behind Jasmine for an interesting effect. The face shadows didn’t appear with this angle either!

However, re-editing the photos, however, I realized that with a lot of harsh, bright sunlight behind a subject, there is a lot of chromatic aberration and purple fringing, where there is unwanted purple colors between the subject and the background. My original edits 8 months ago didn’t account for the fringing. I used to say “the sun is my best friend,” but still gotta be careful!

The most difficult part is that the purple fringing is similar to the pinkish/purple color of what Jasmine was wearing. There is a fringing removal tool in Adobe Lightroom, but when I used it to get rid of the fringing on the borders, it would remove colors from her shirt as well. I had to use more effort to remove as much fringing as I could without ruining the color of the rest of the photo.

day2-2424day2-2429day2-2428day2-2427

Yesterday, I started the Jasmine Series. Check out Part I (click on the image below)!

The Jasmine Series

jas416-2
Part I
cover
Part 3